My Affinity for Masks
As a shy, introverted kid, I grew very attached to video games. One of the popular games at the time was The Legend of Zelda: Ocarina of Time for N64. Within that series is a title called “Majora’s Mask”.
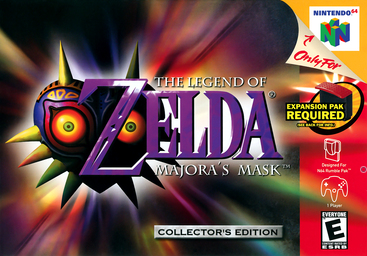
I played Majora’s Mask for hours on end, aiming to collect all 24 of the masks possible. Little did I know that this game would serve as the dry kindling for my artistic flame. That dry brush sat dormant throughout my STEM education, and was remembered fondly into my late 20s. After a personal, spiritual journey, at 31 I decided to express more creativity. As the meaning of life became clearer to me, so did my desire to spend time doing what I thought was interesting versus efficient. I decided that mask making was my chosen artistic domain.
Masks are attractive to me for a variety of reasons:
- they have a purpose – quickly transforming a person into a character
- they are very sculptural pieces
- they require multi-media techniques and materials
- they play with the concept of identity in an almost philosophical way
I set out to learn mask making history, and culture.
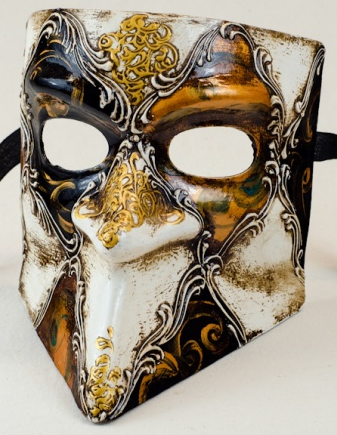
Part of me thought, how amazing would it be to study Venetian mask making in Italy? I started window shopping my education. While searching for courses, I discovered there was in fact workshops for mask making! And to my surprise, there was one in Stratford, ON – just an hour drive away! Of course this makes sense, with Stratford being a renown theatre city. I just had to go! So I booked the course, and my accommodations right away.
The Workshop – My Home for the Week
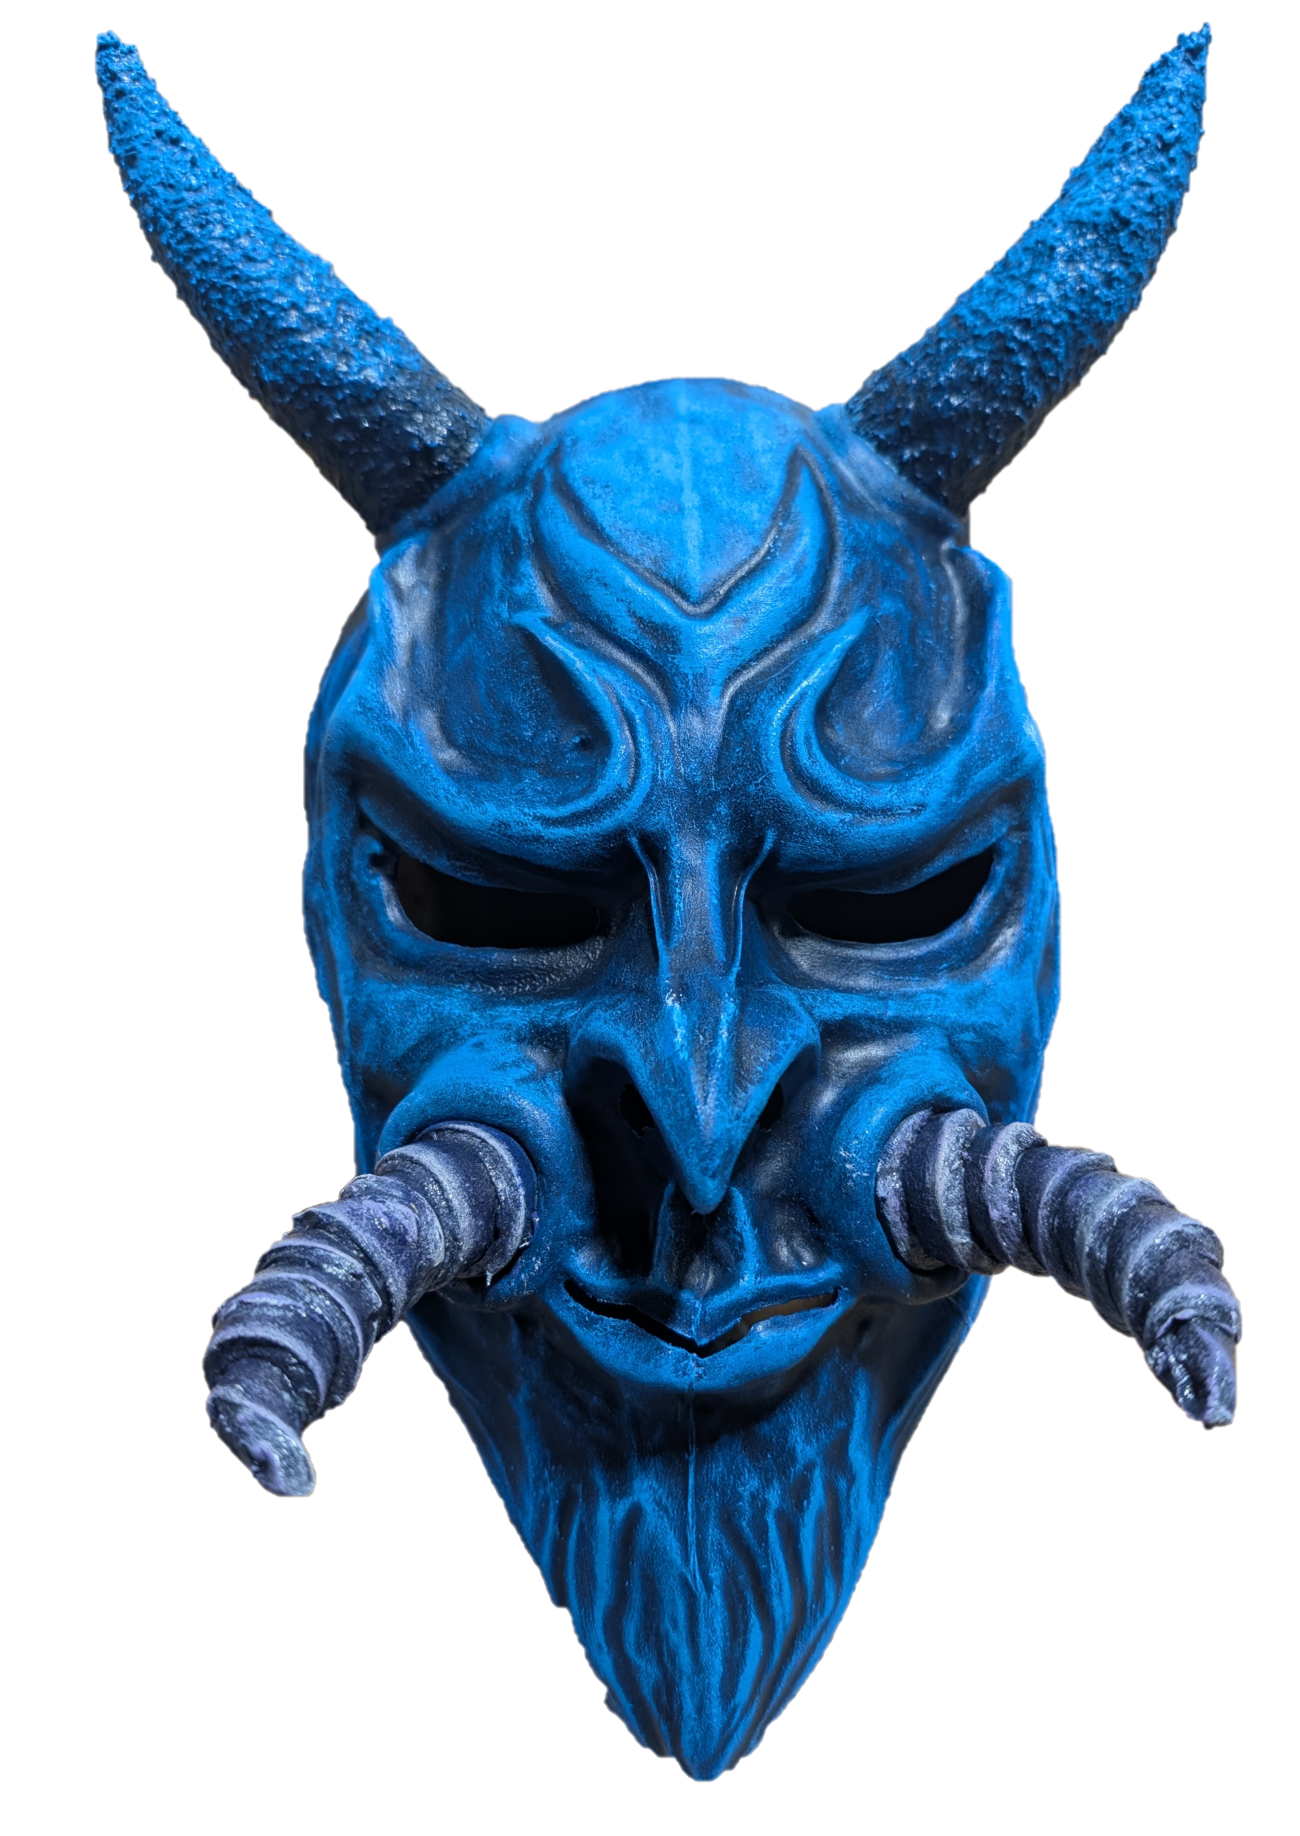
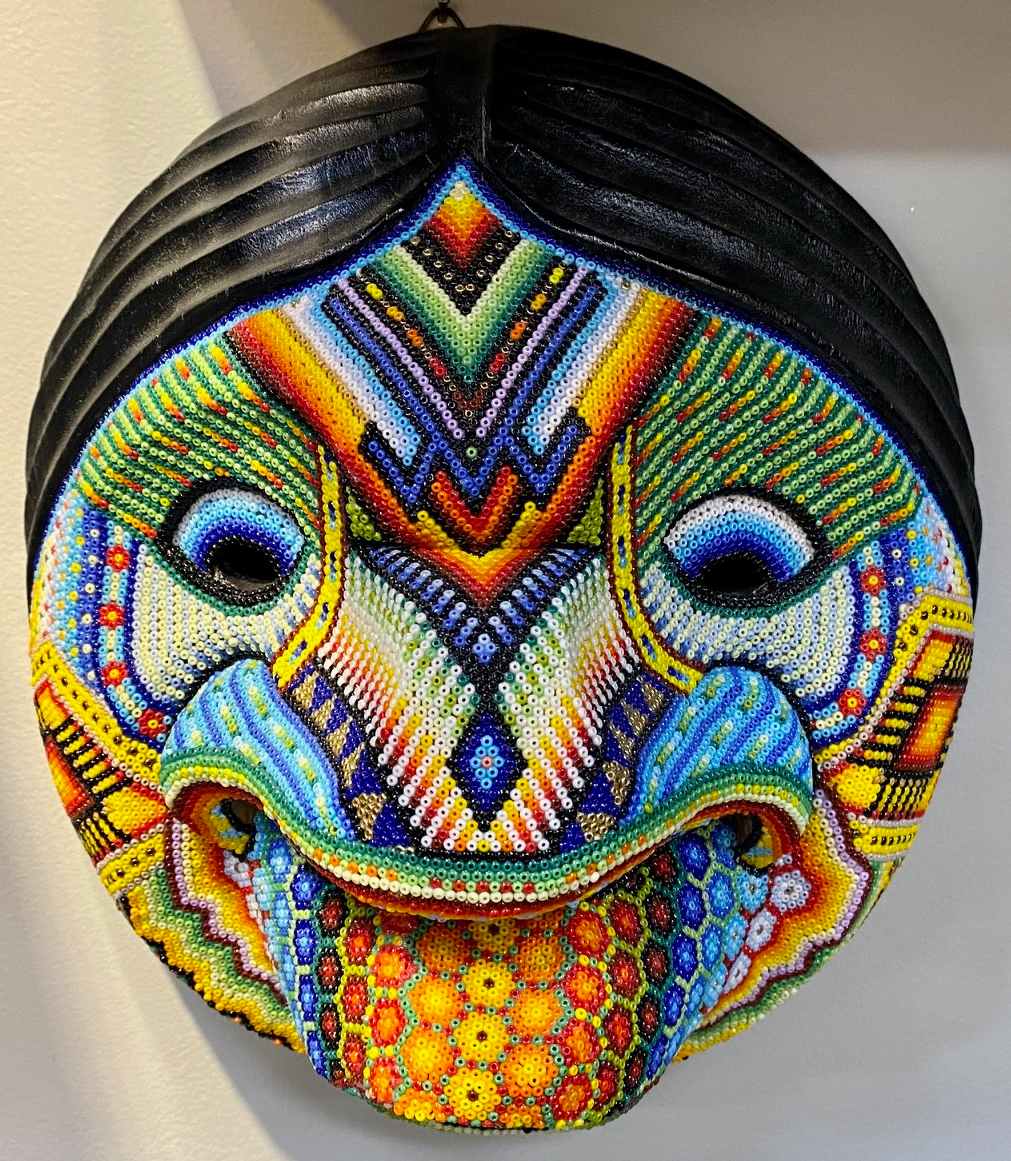
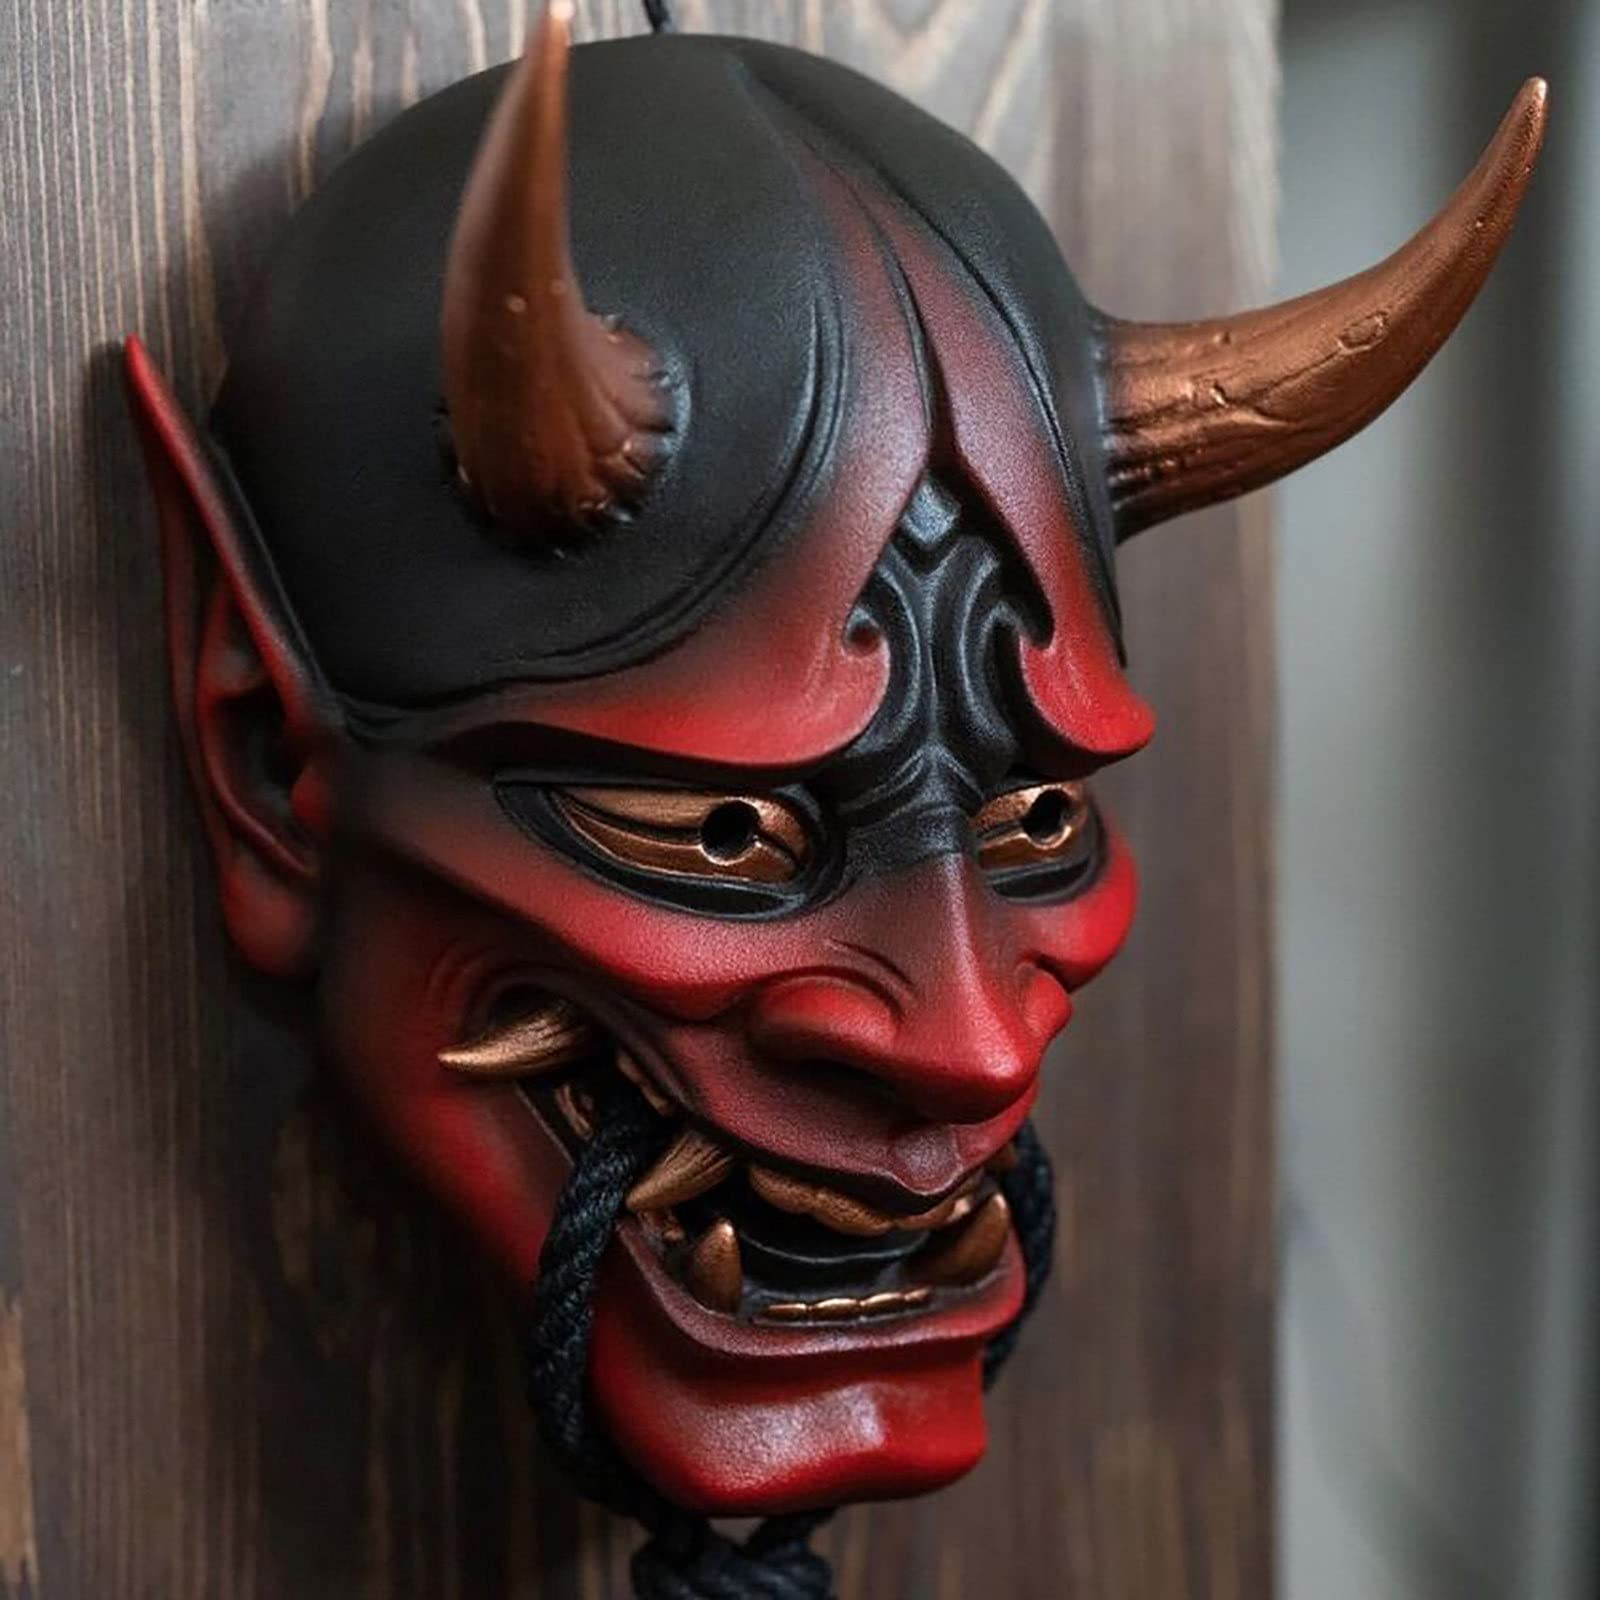
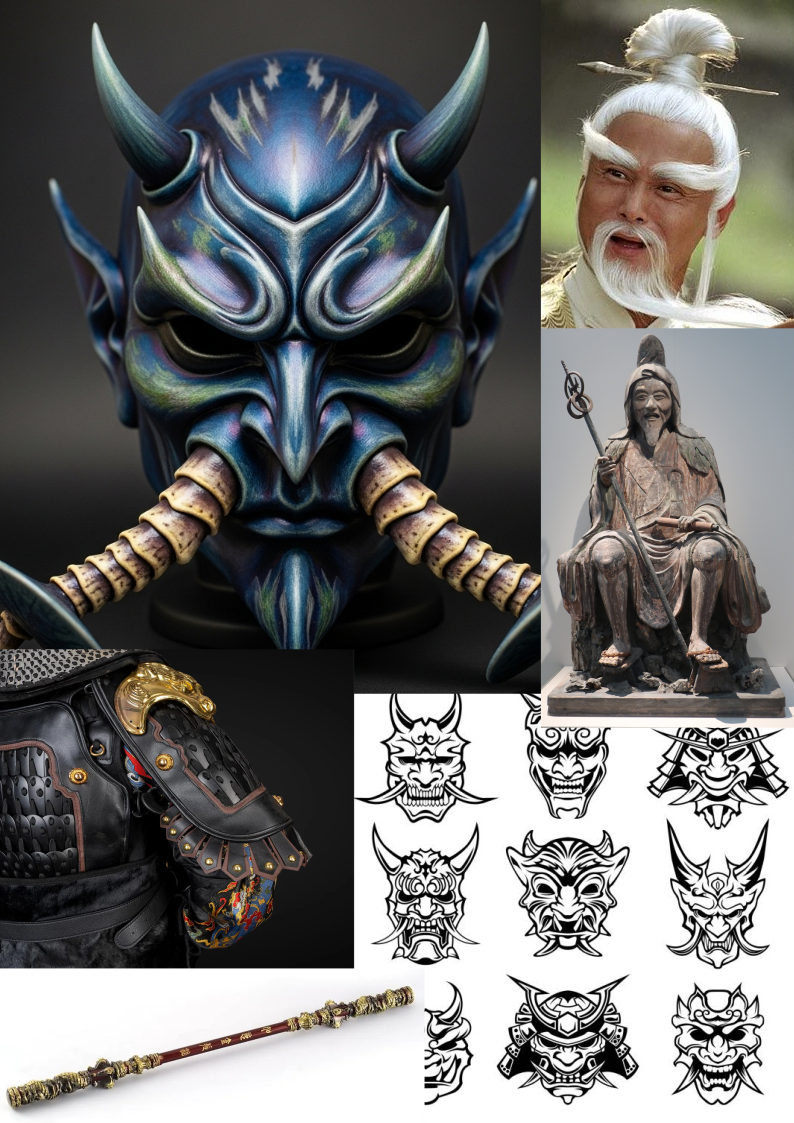
Before the course started, we were asked to bring some reference materials for a mask that we wanted to make. One of my concepts was an earthy, gemstone-encrusted face. The other was a Japanese-inspired demon samurai (like the Oni).
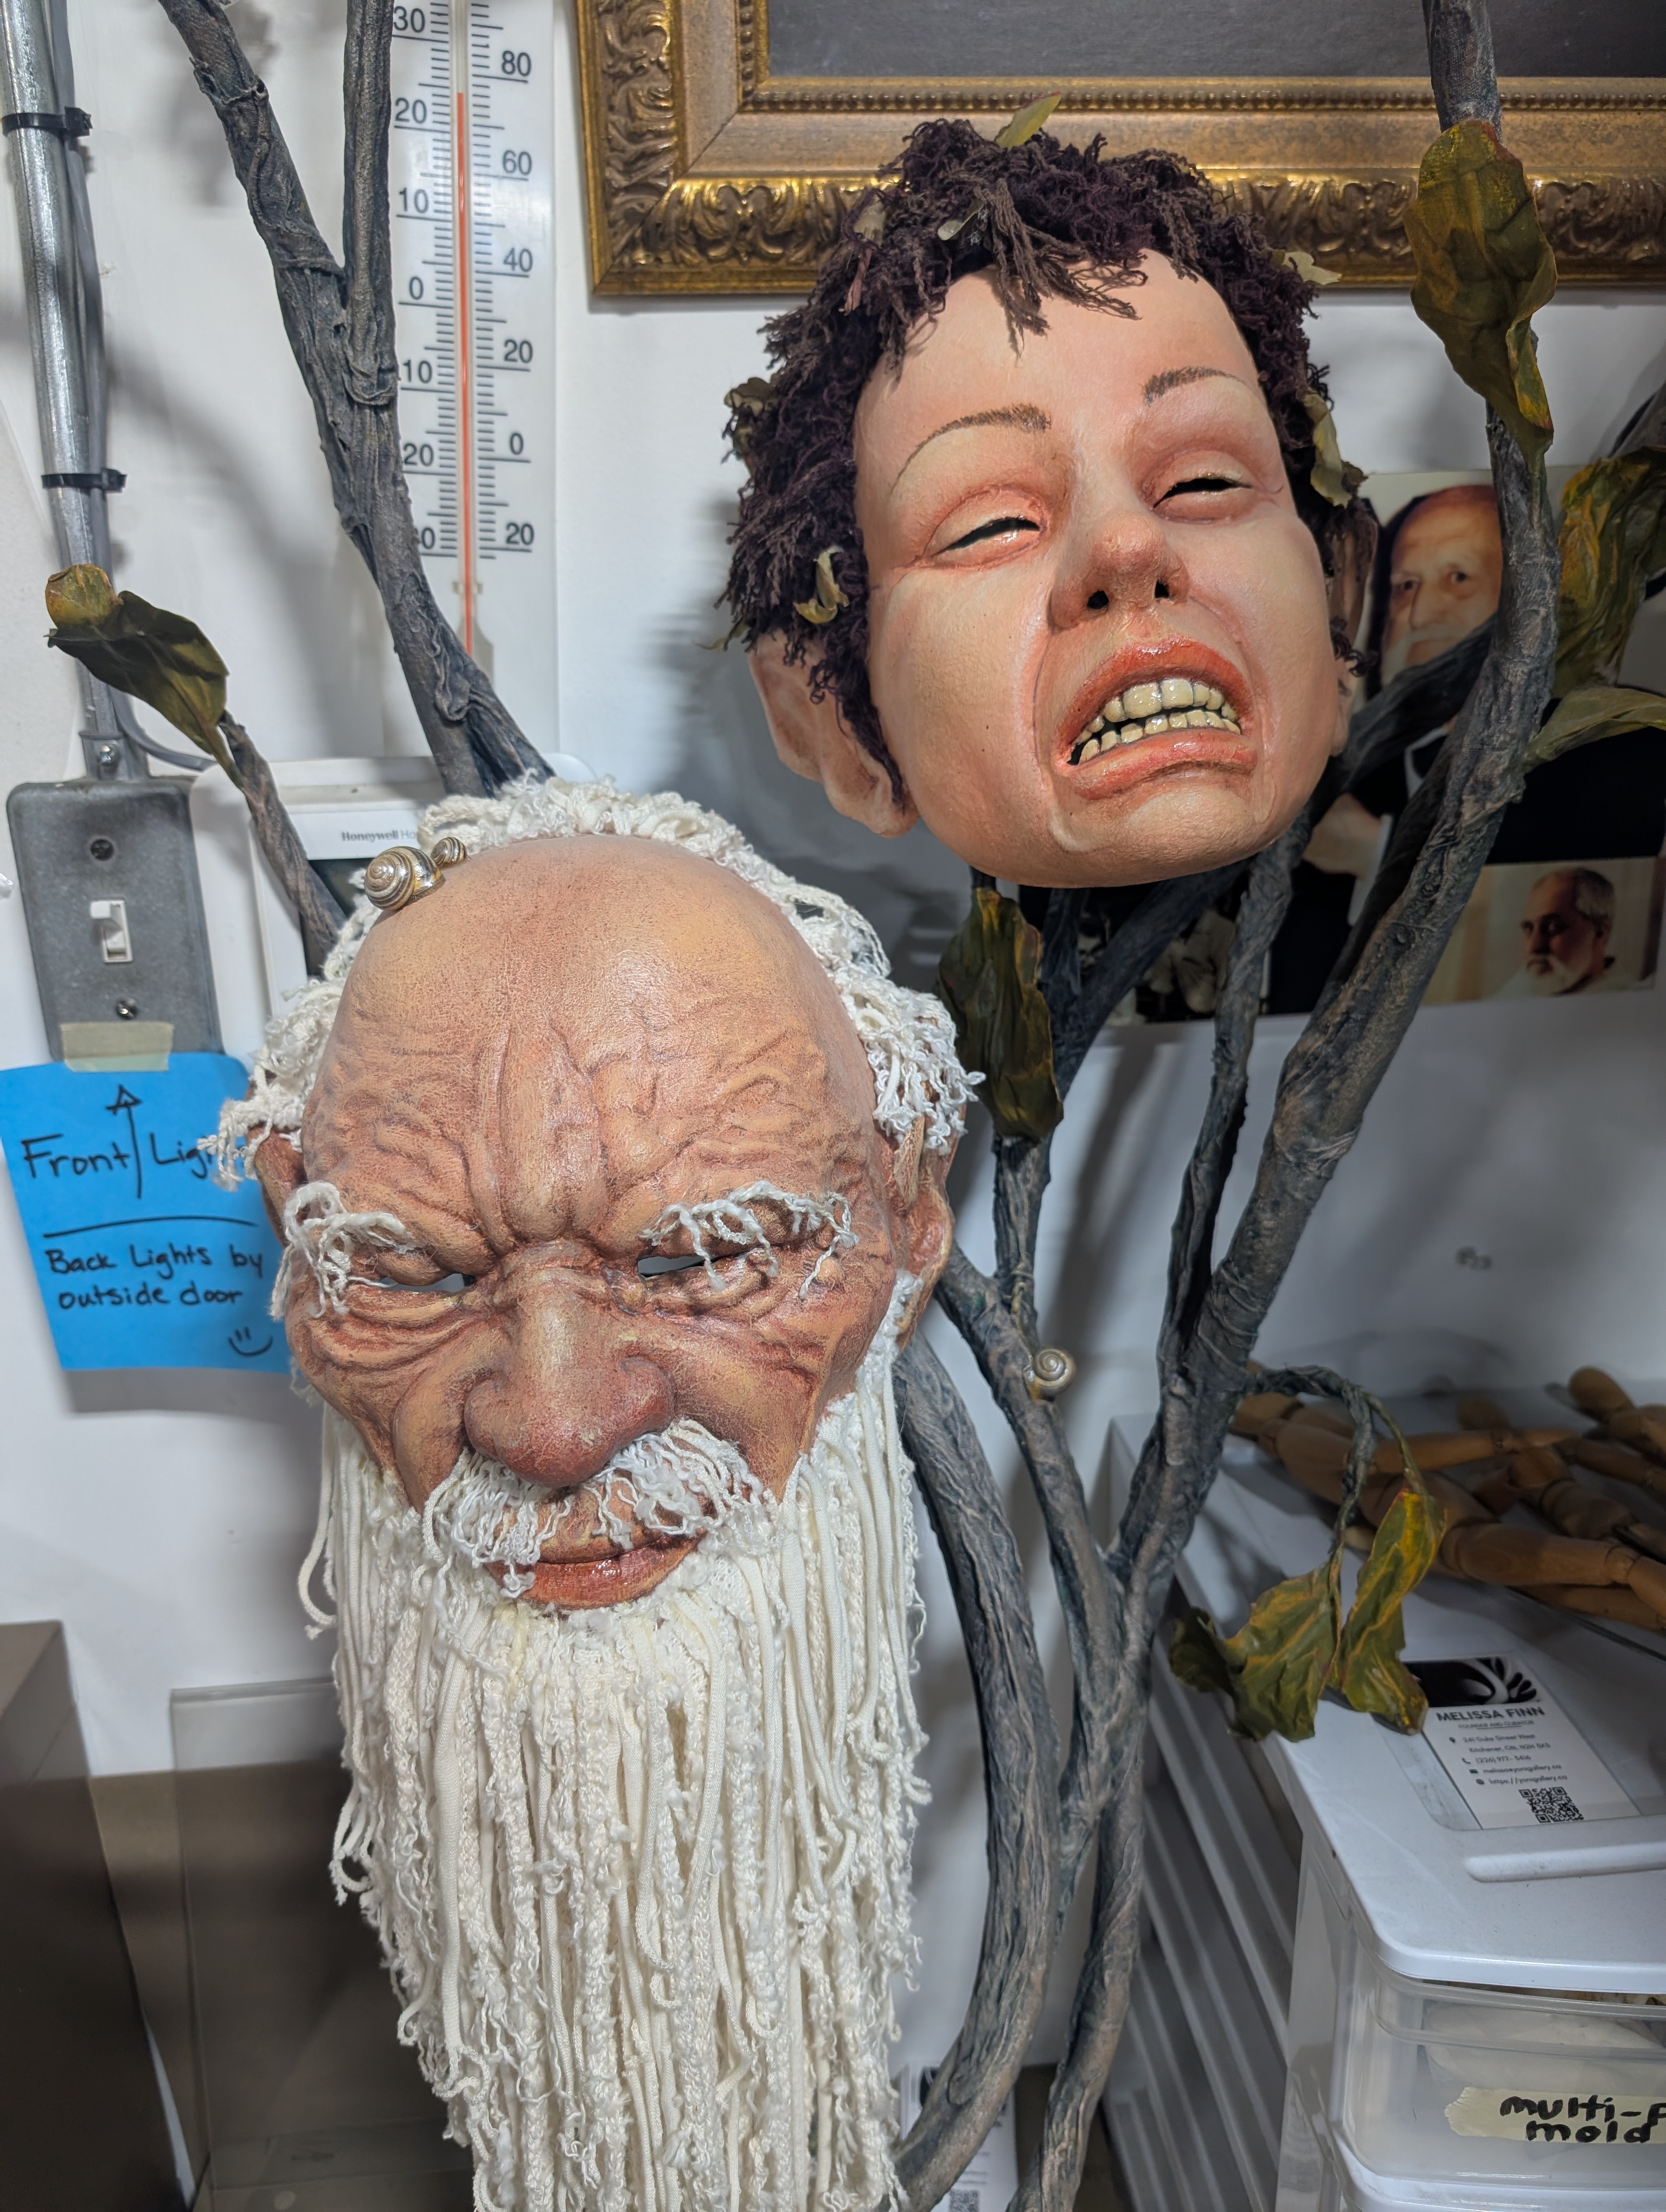
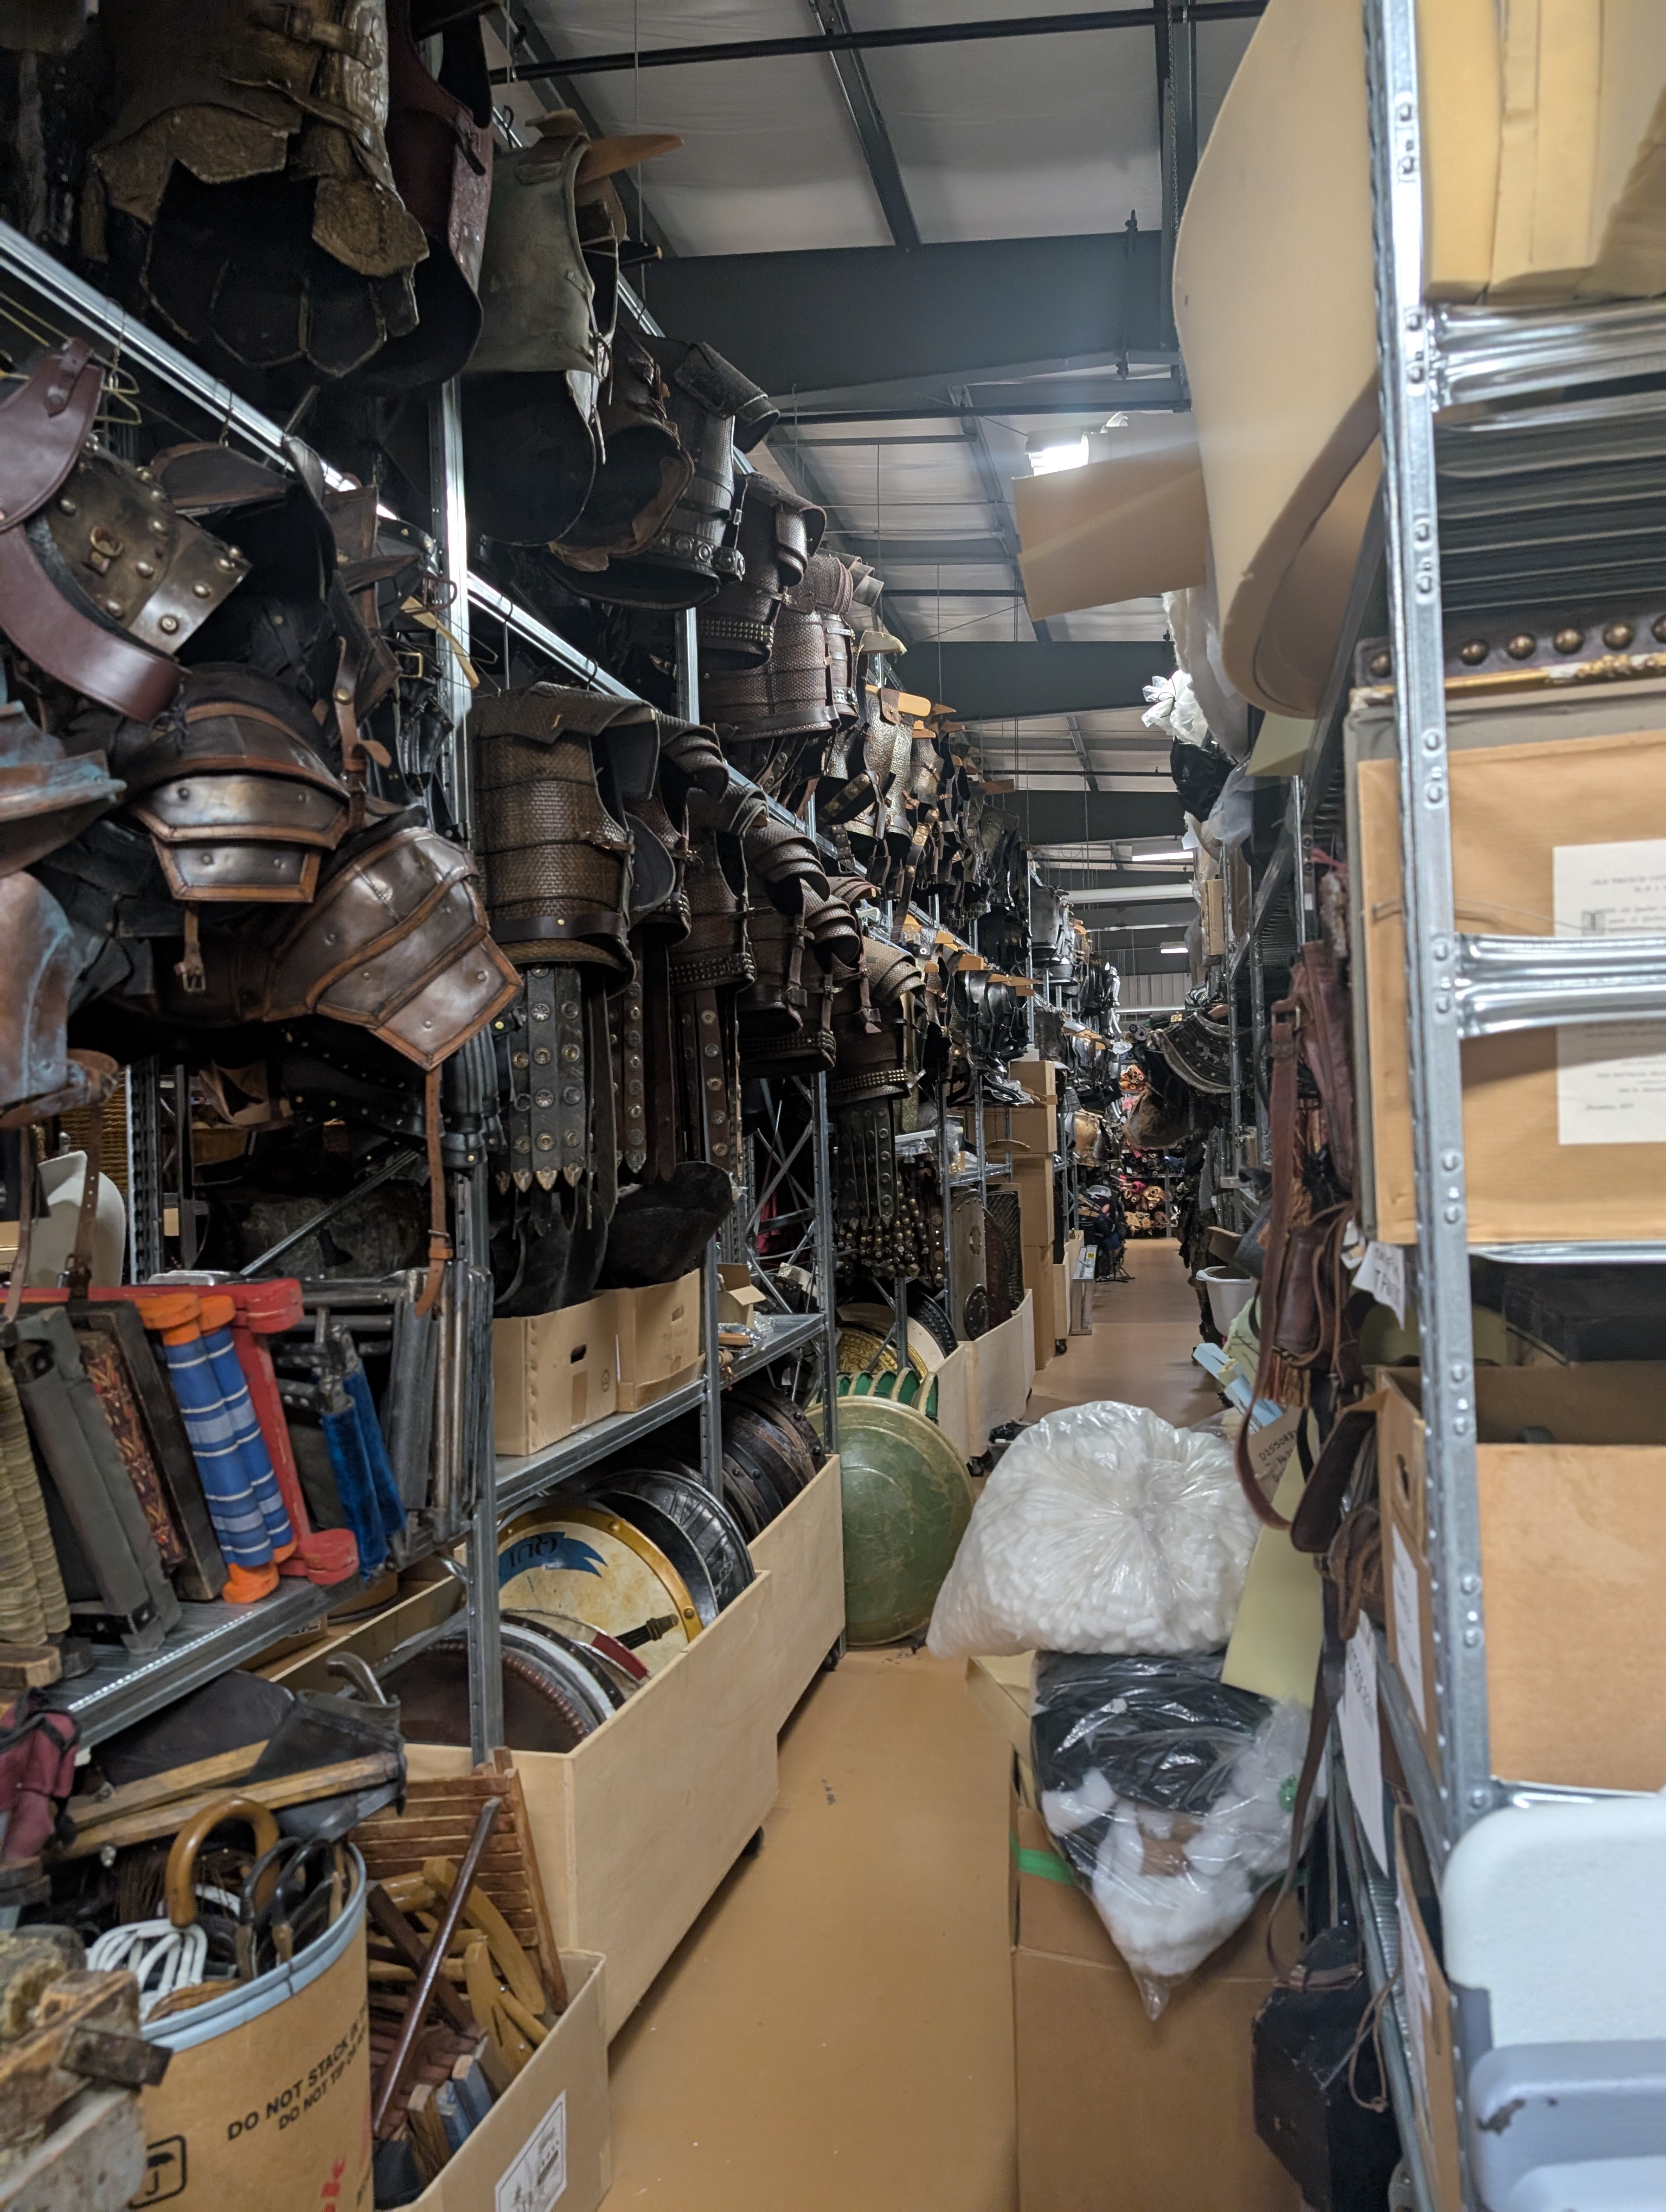
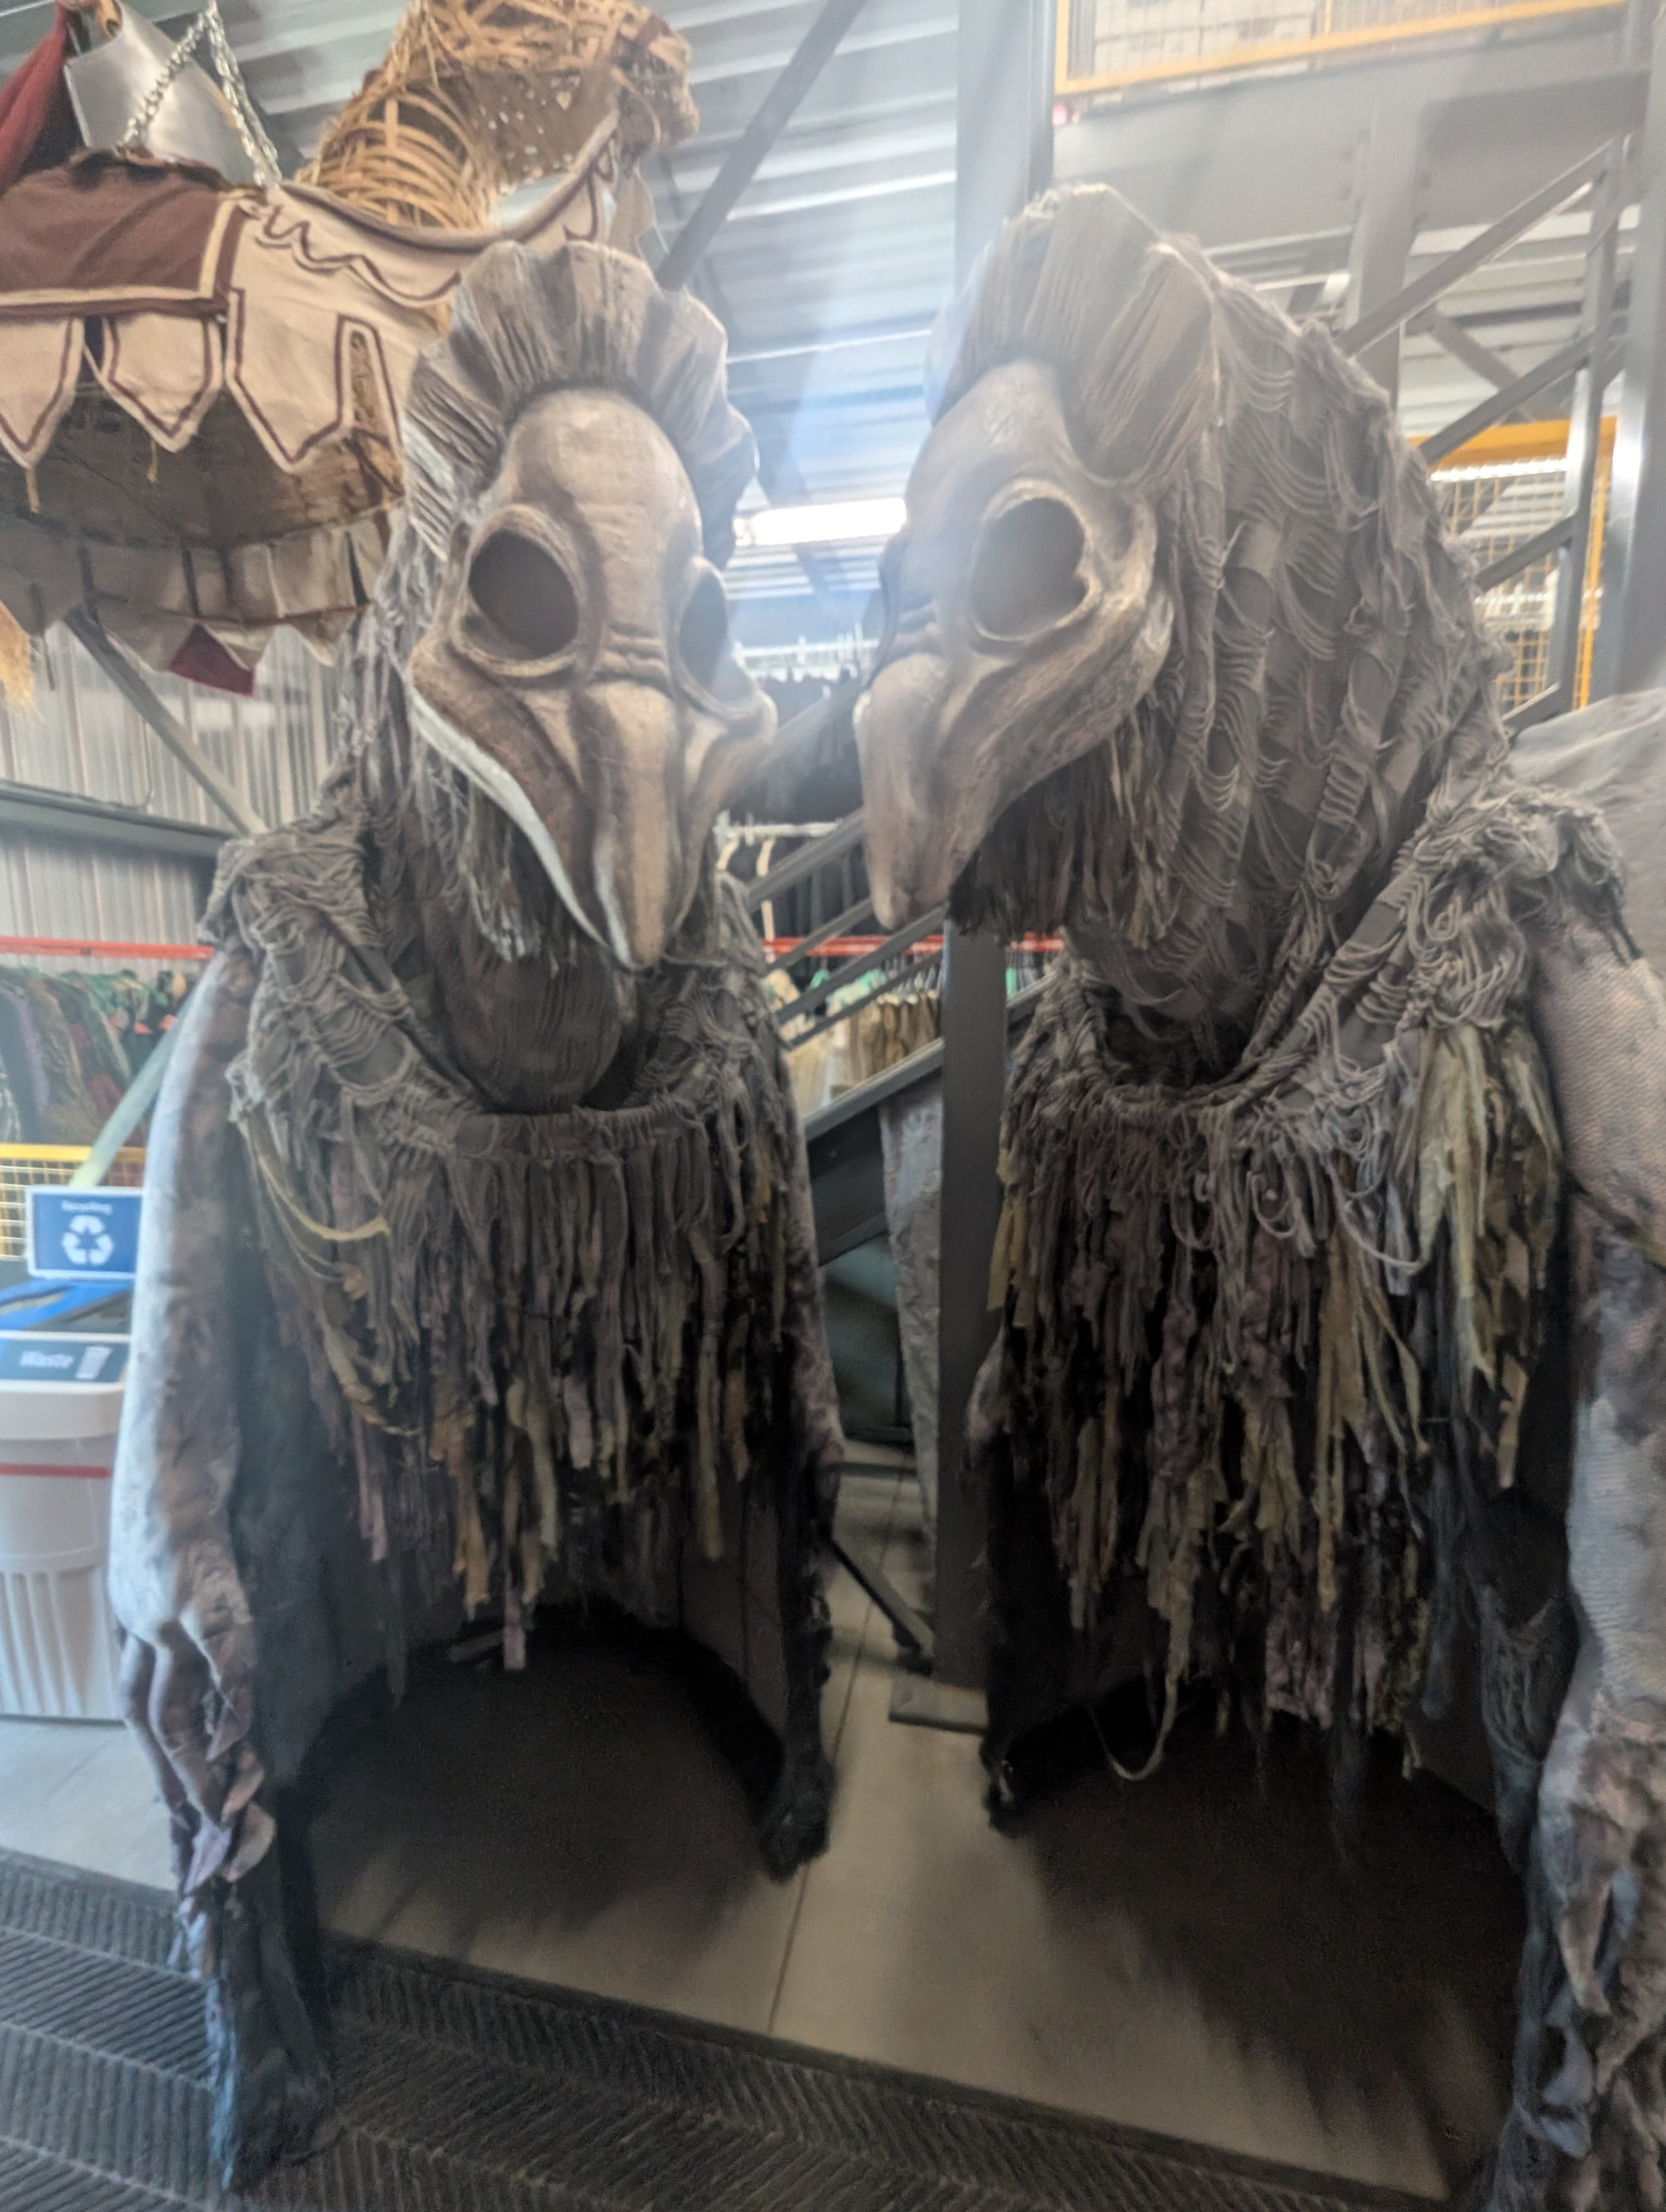
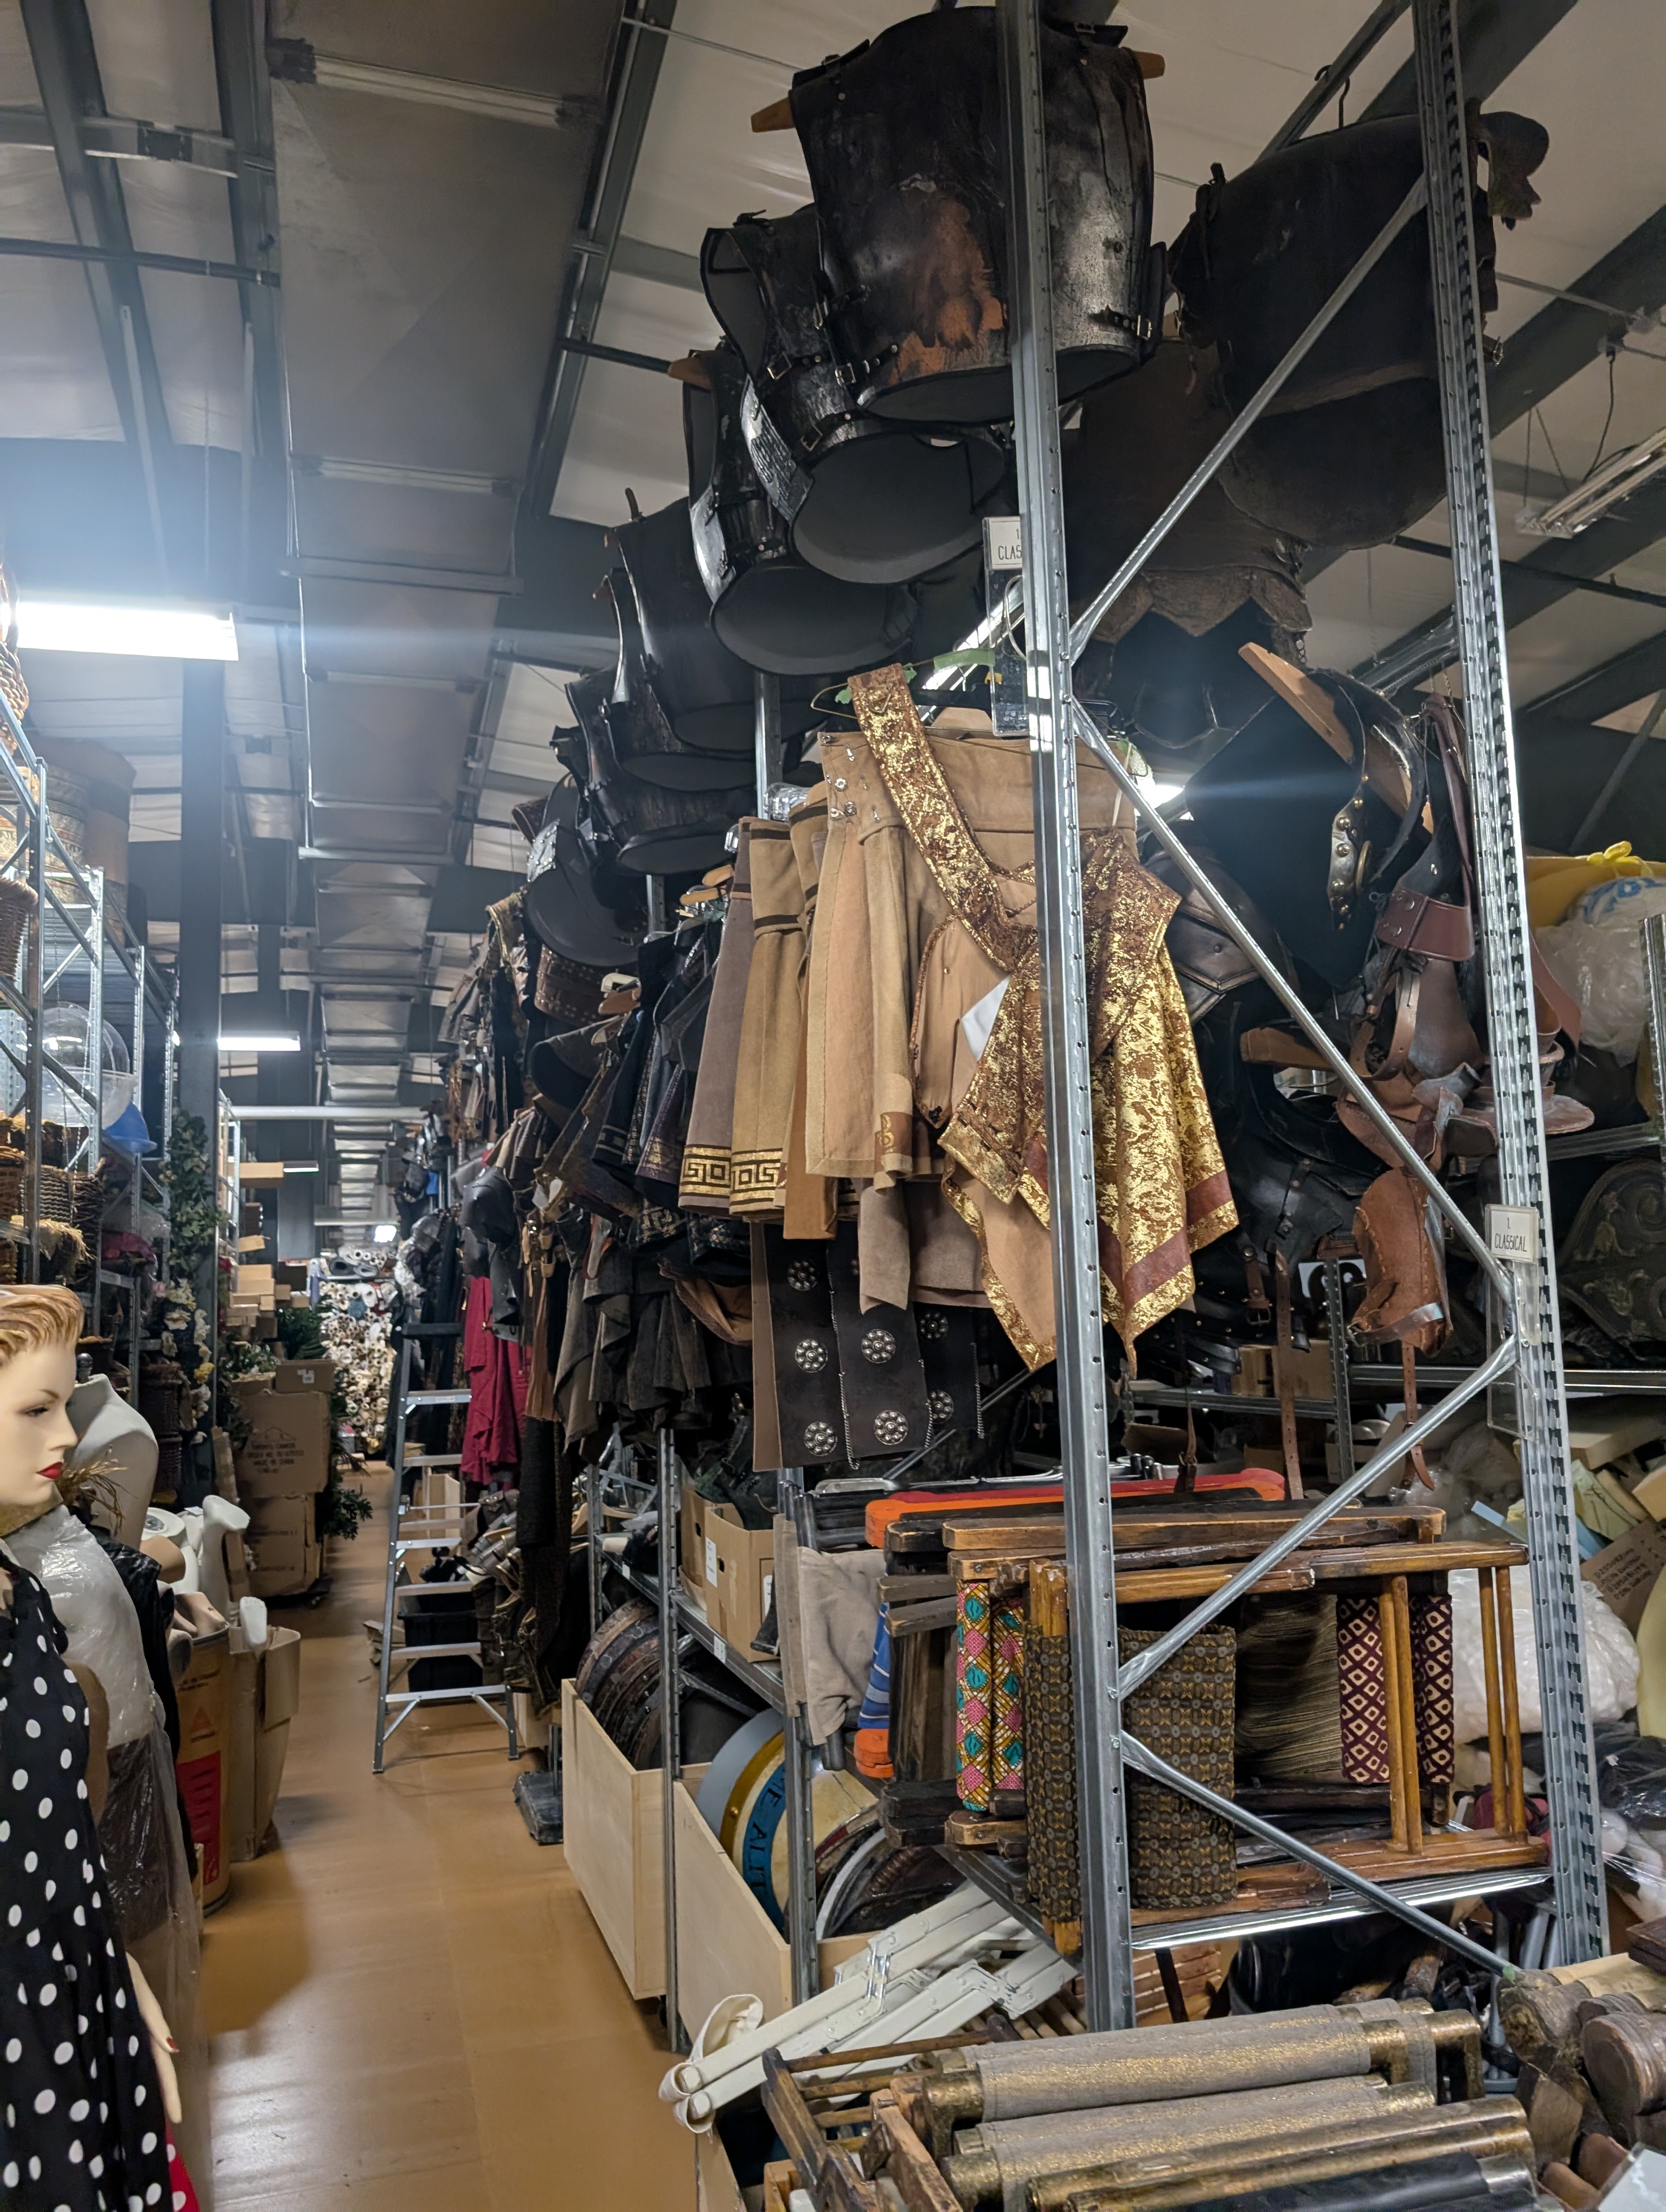
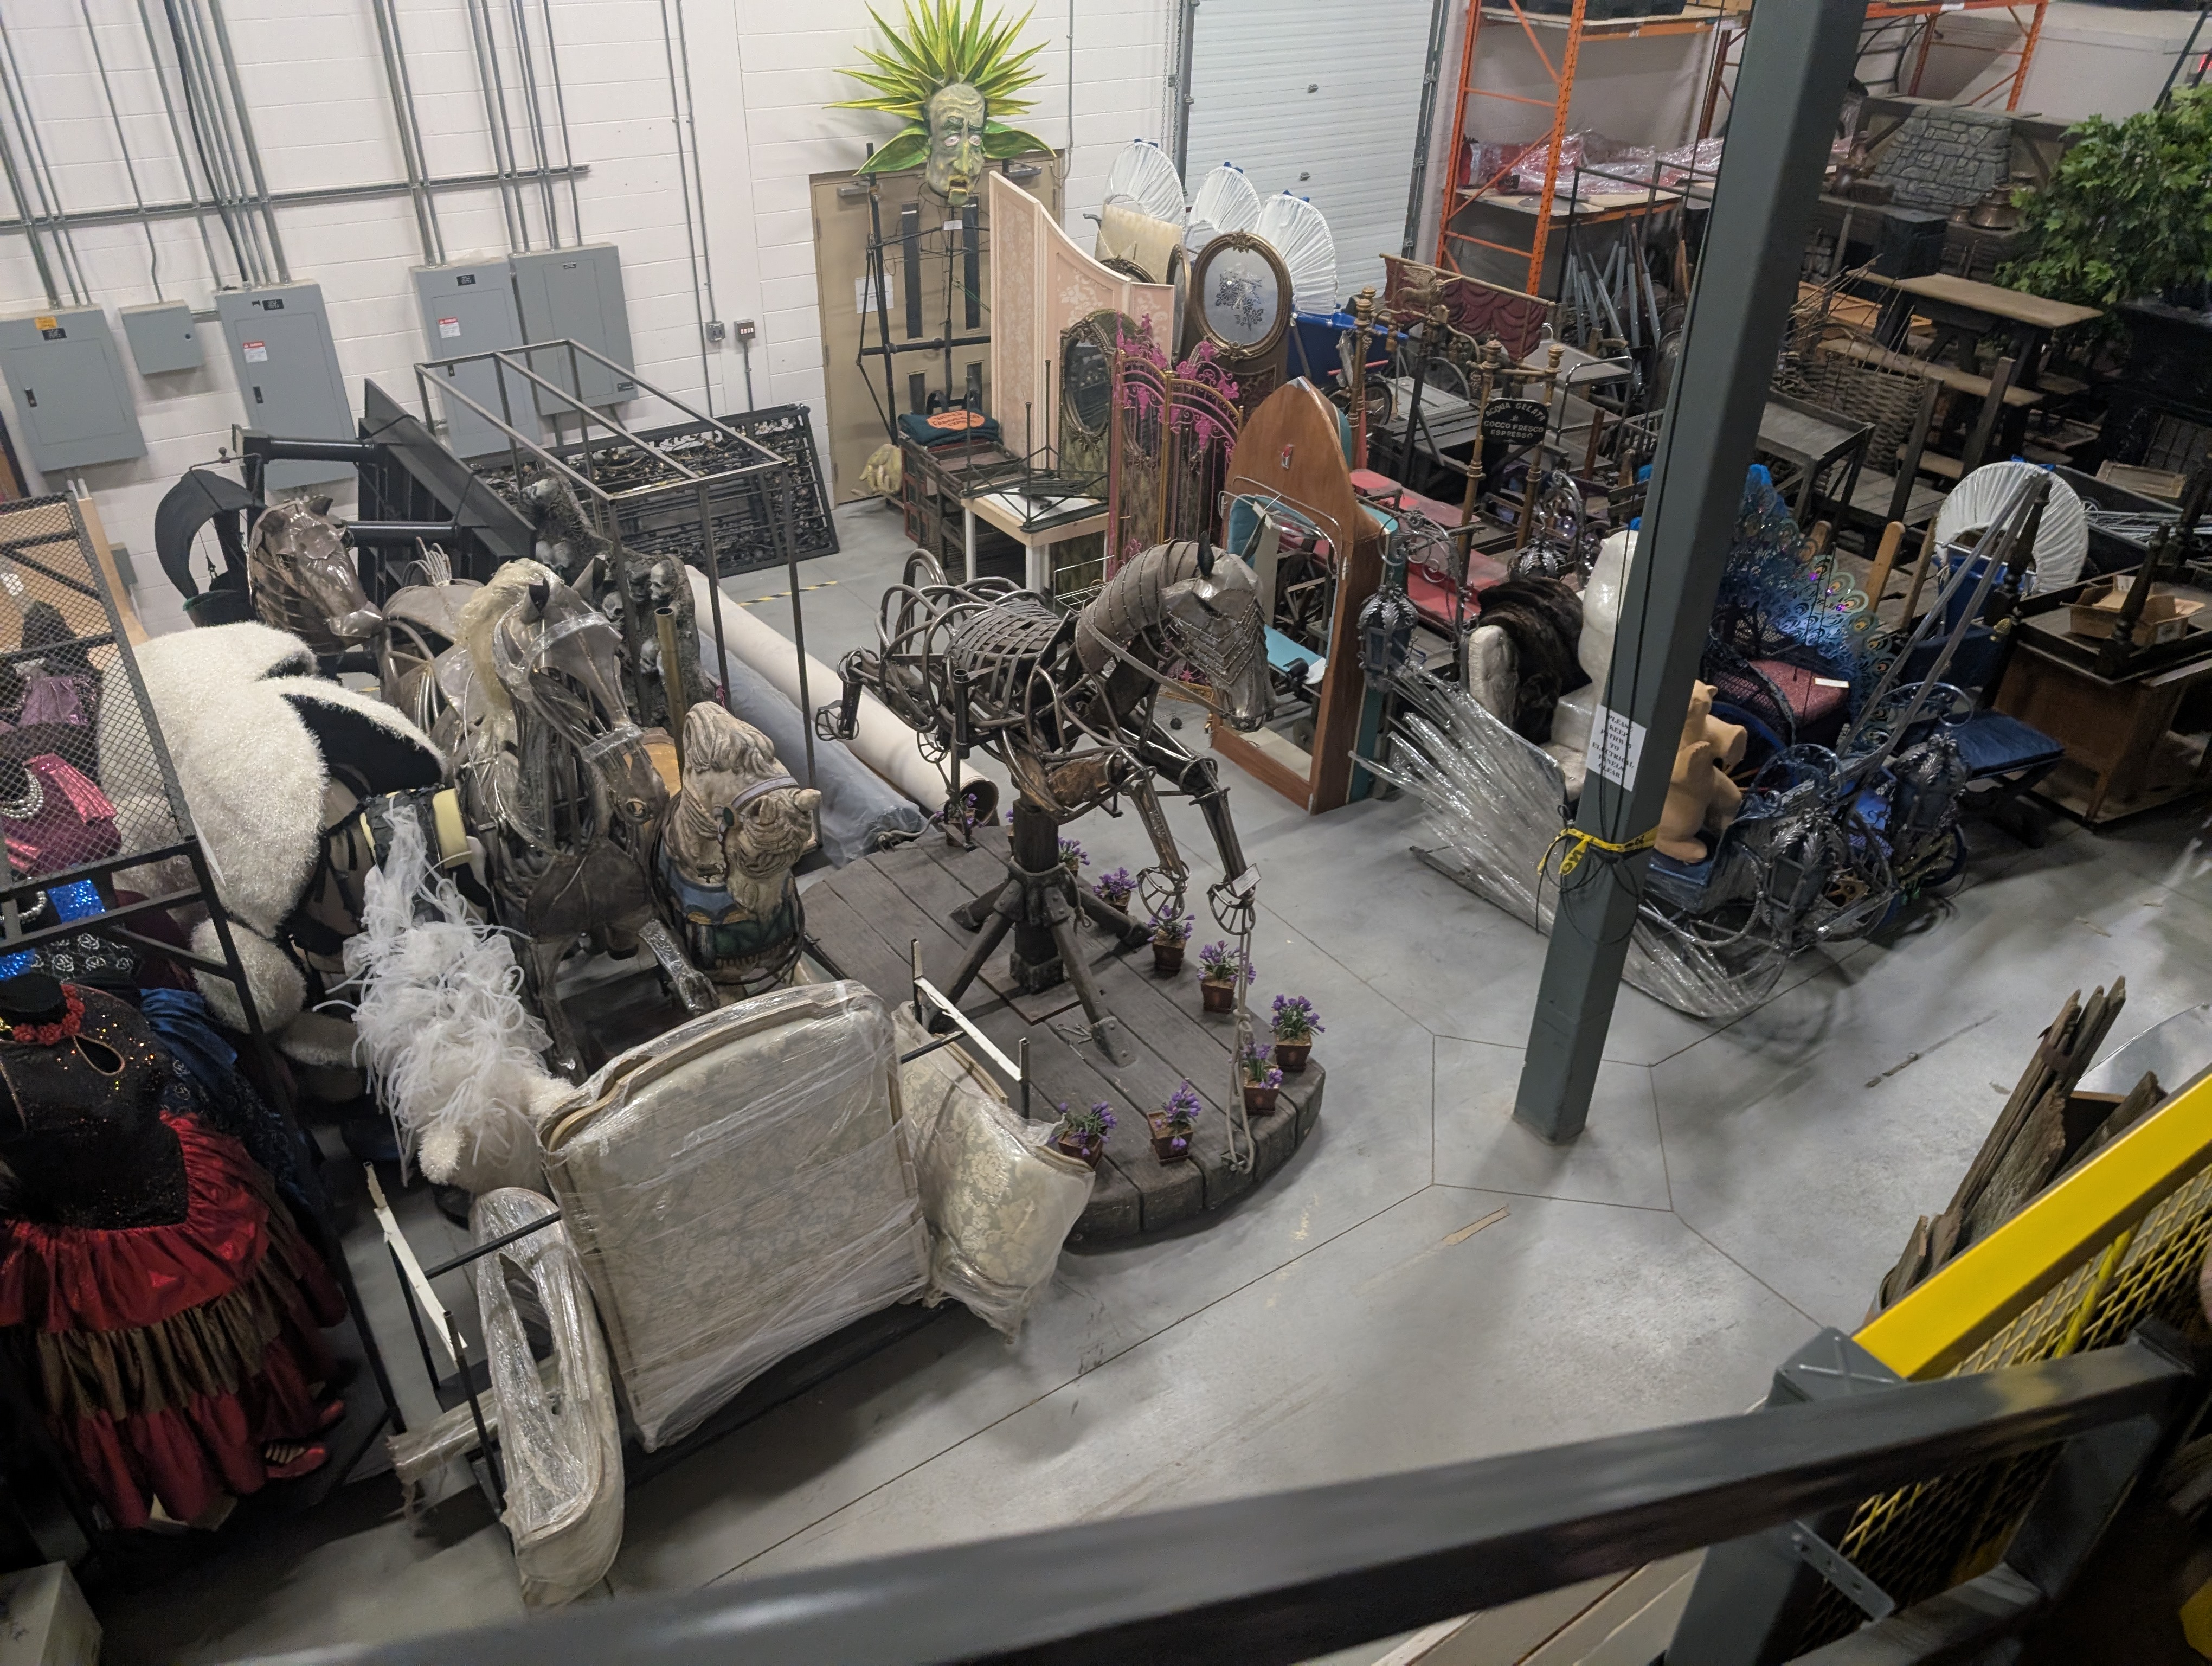
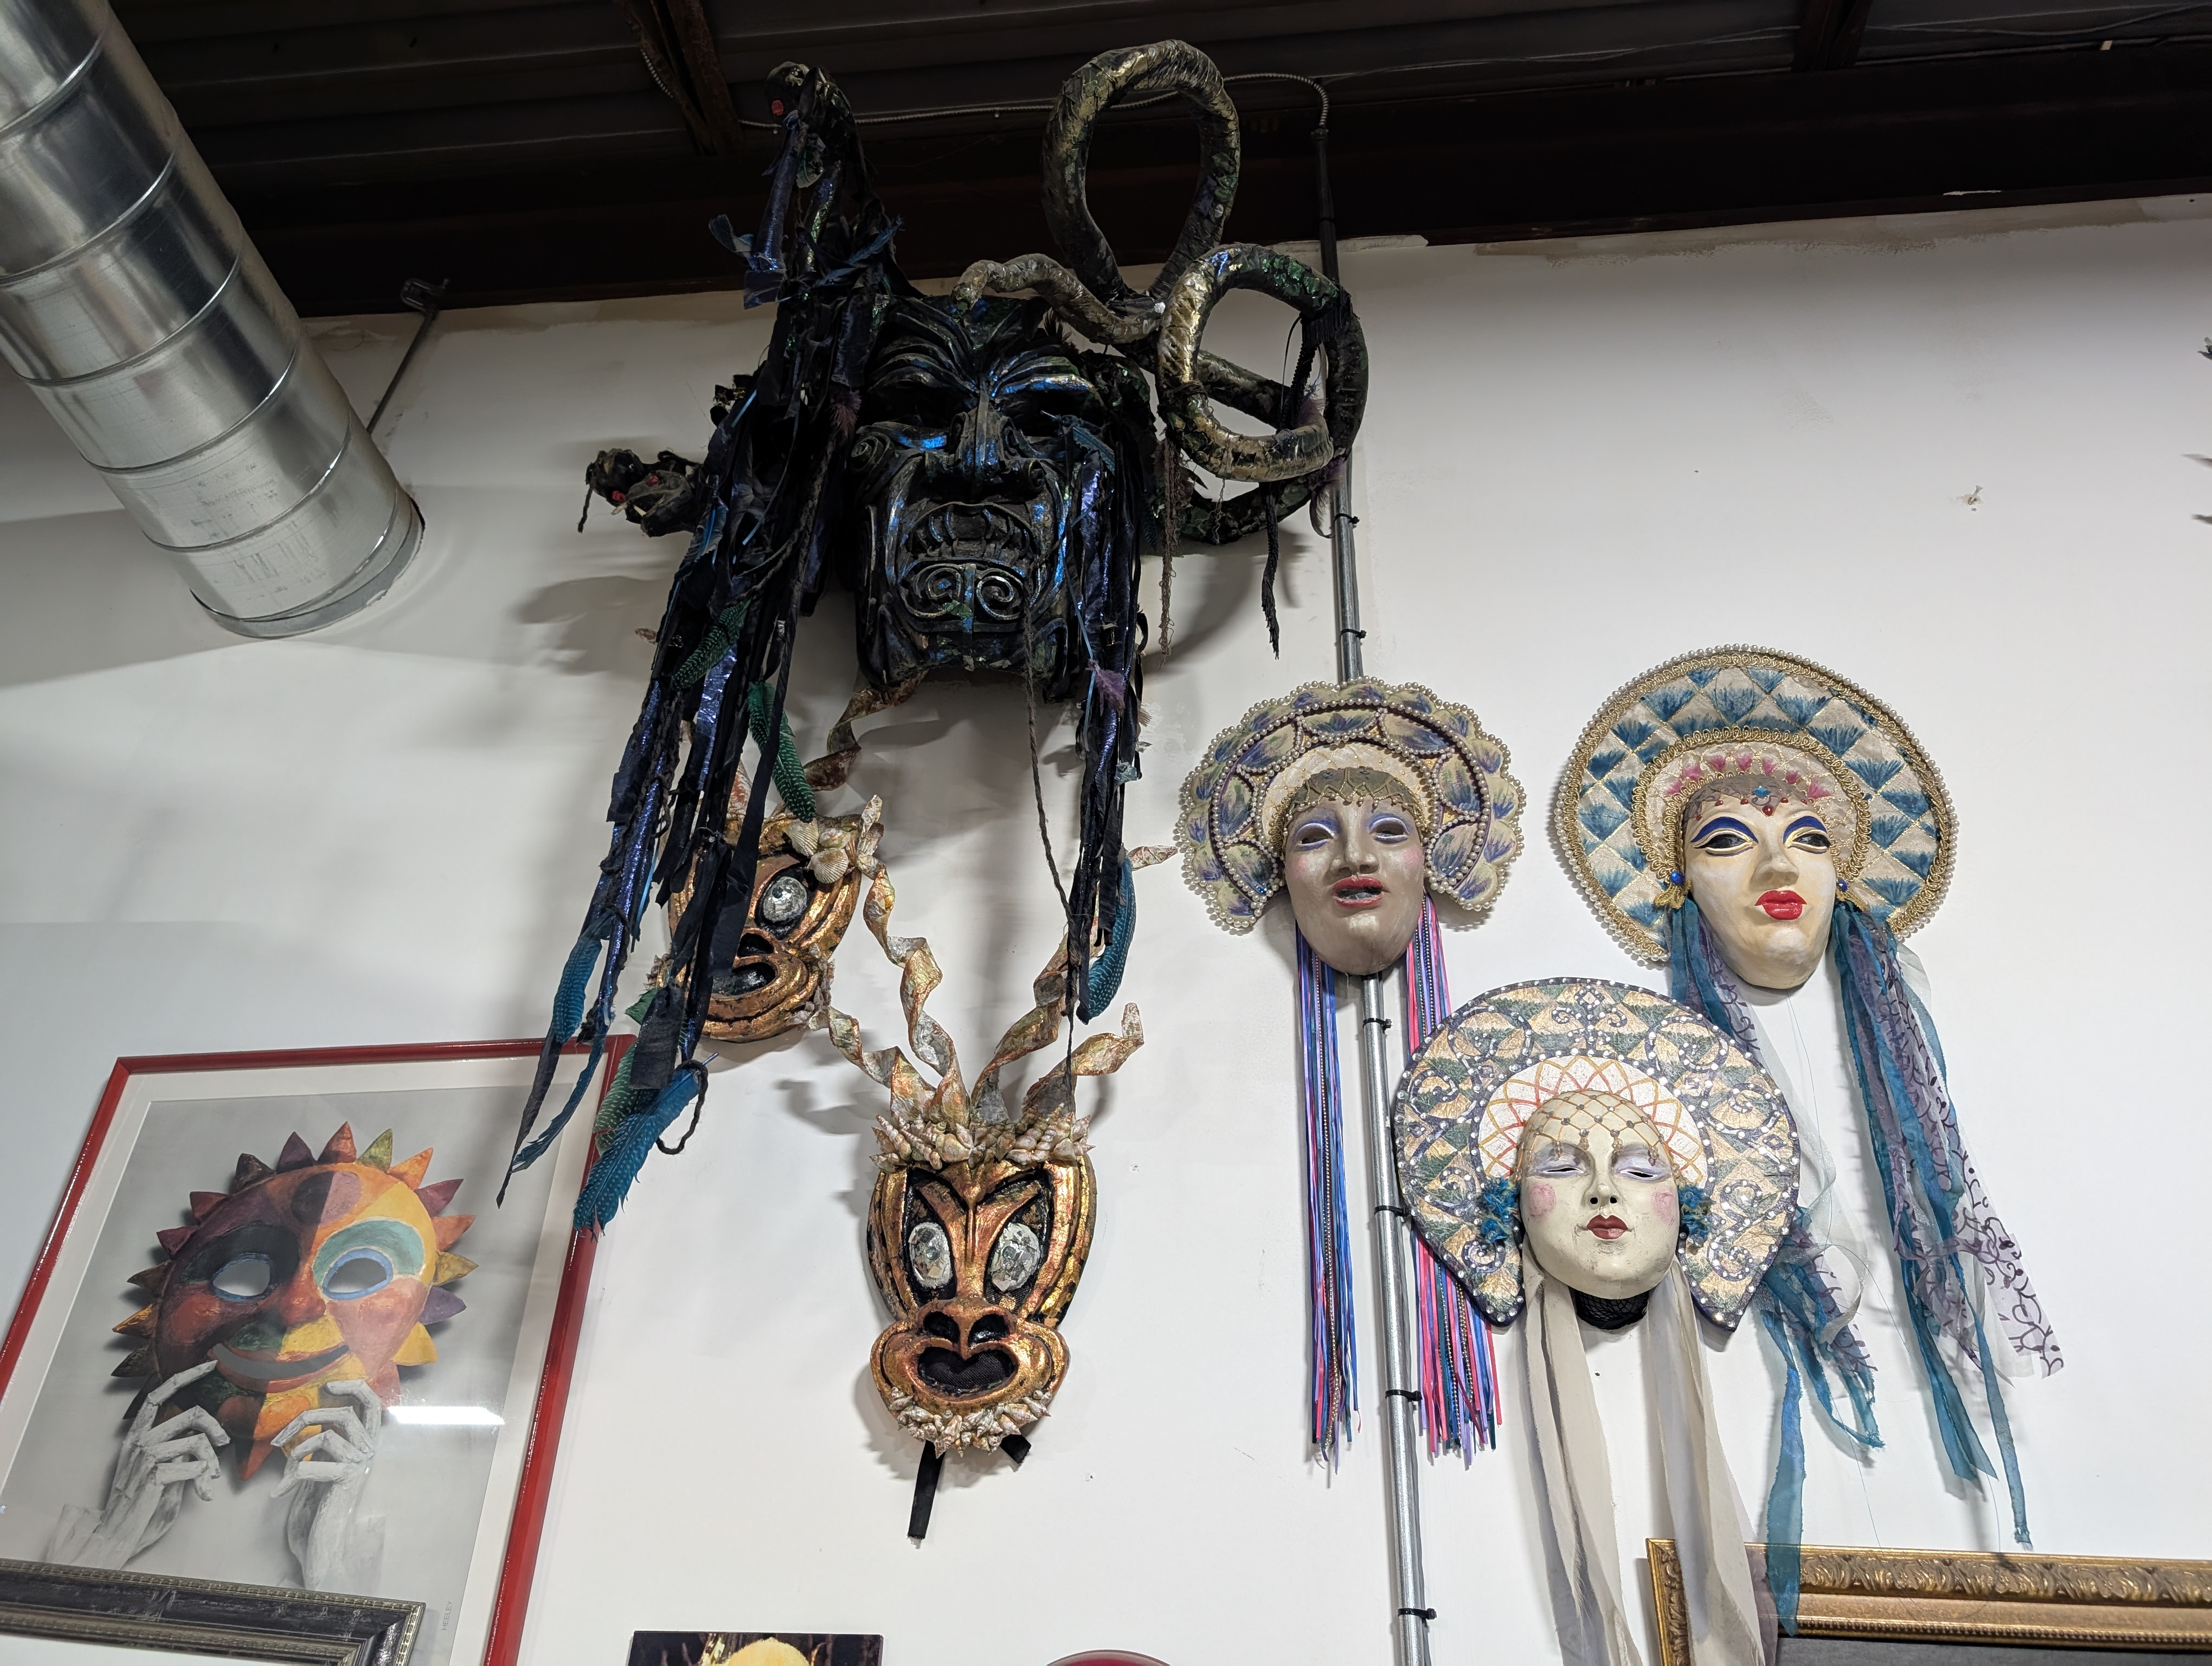
The first day of the workshop we met the instructor Ken Dubblestyne, an eccentric artist with a plethora of experience in backstage builds. He took us through The Stratford Festival’s warehouse of props, masks, clothing, armour, and large sculptures. It was two huge floors of masterfully-crafted bundles of joy. We got to see a couple of styles of masks from various real productions, and discussed their construction.


Sculpting and Casting
It was then back to the classroom to start constructing our masks.
Here are some plaster busts, and a bucket of clay. Have at it!
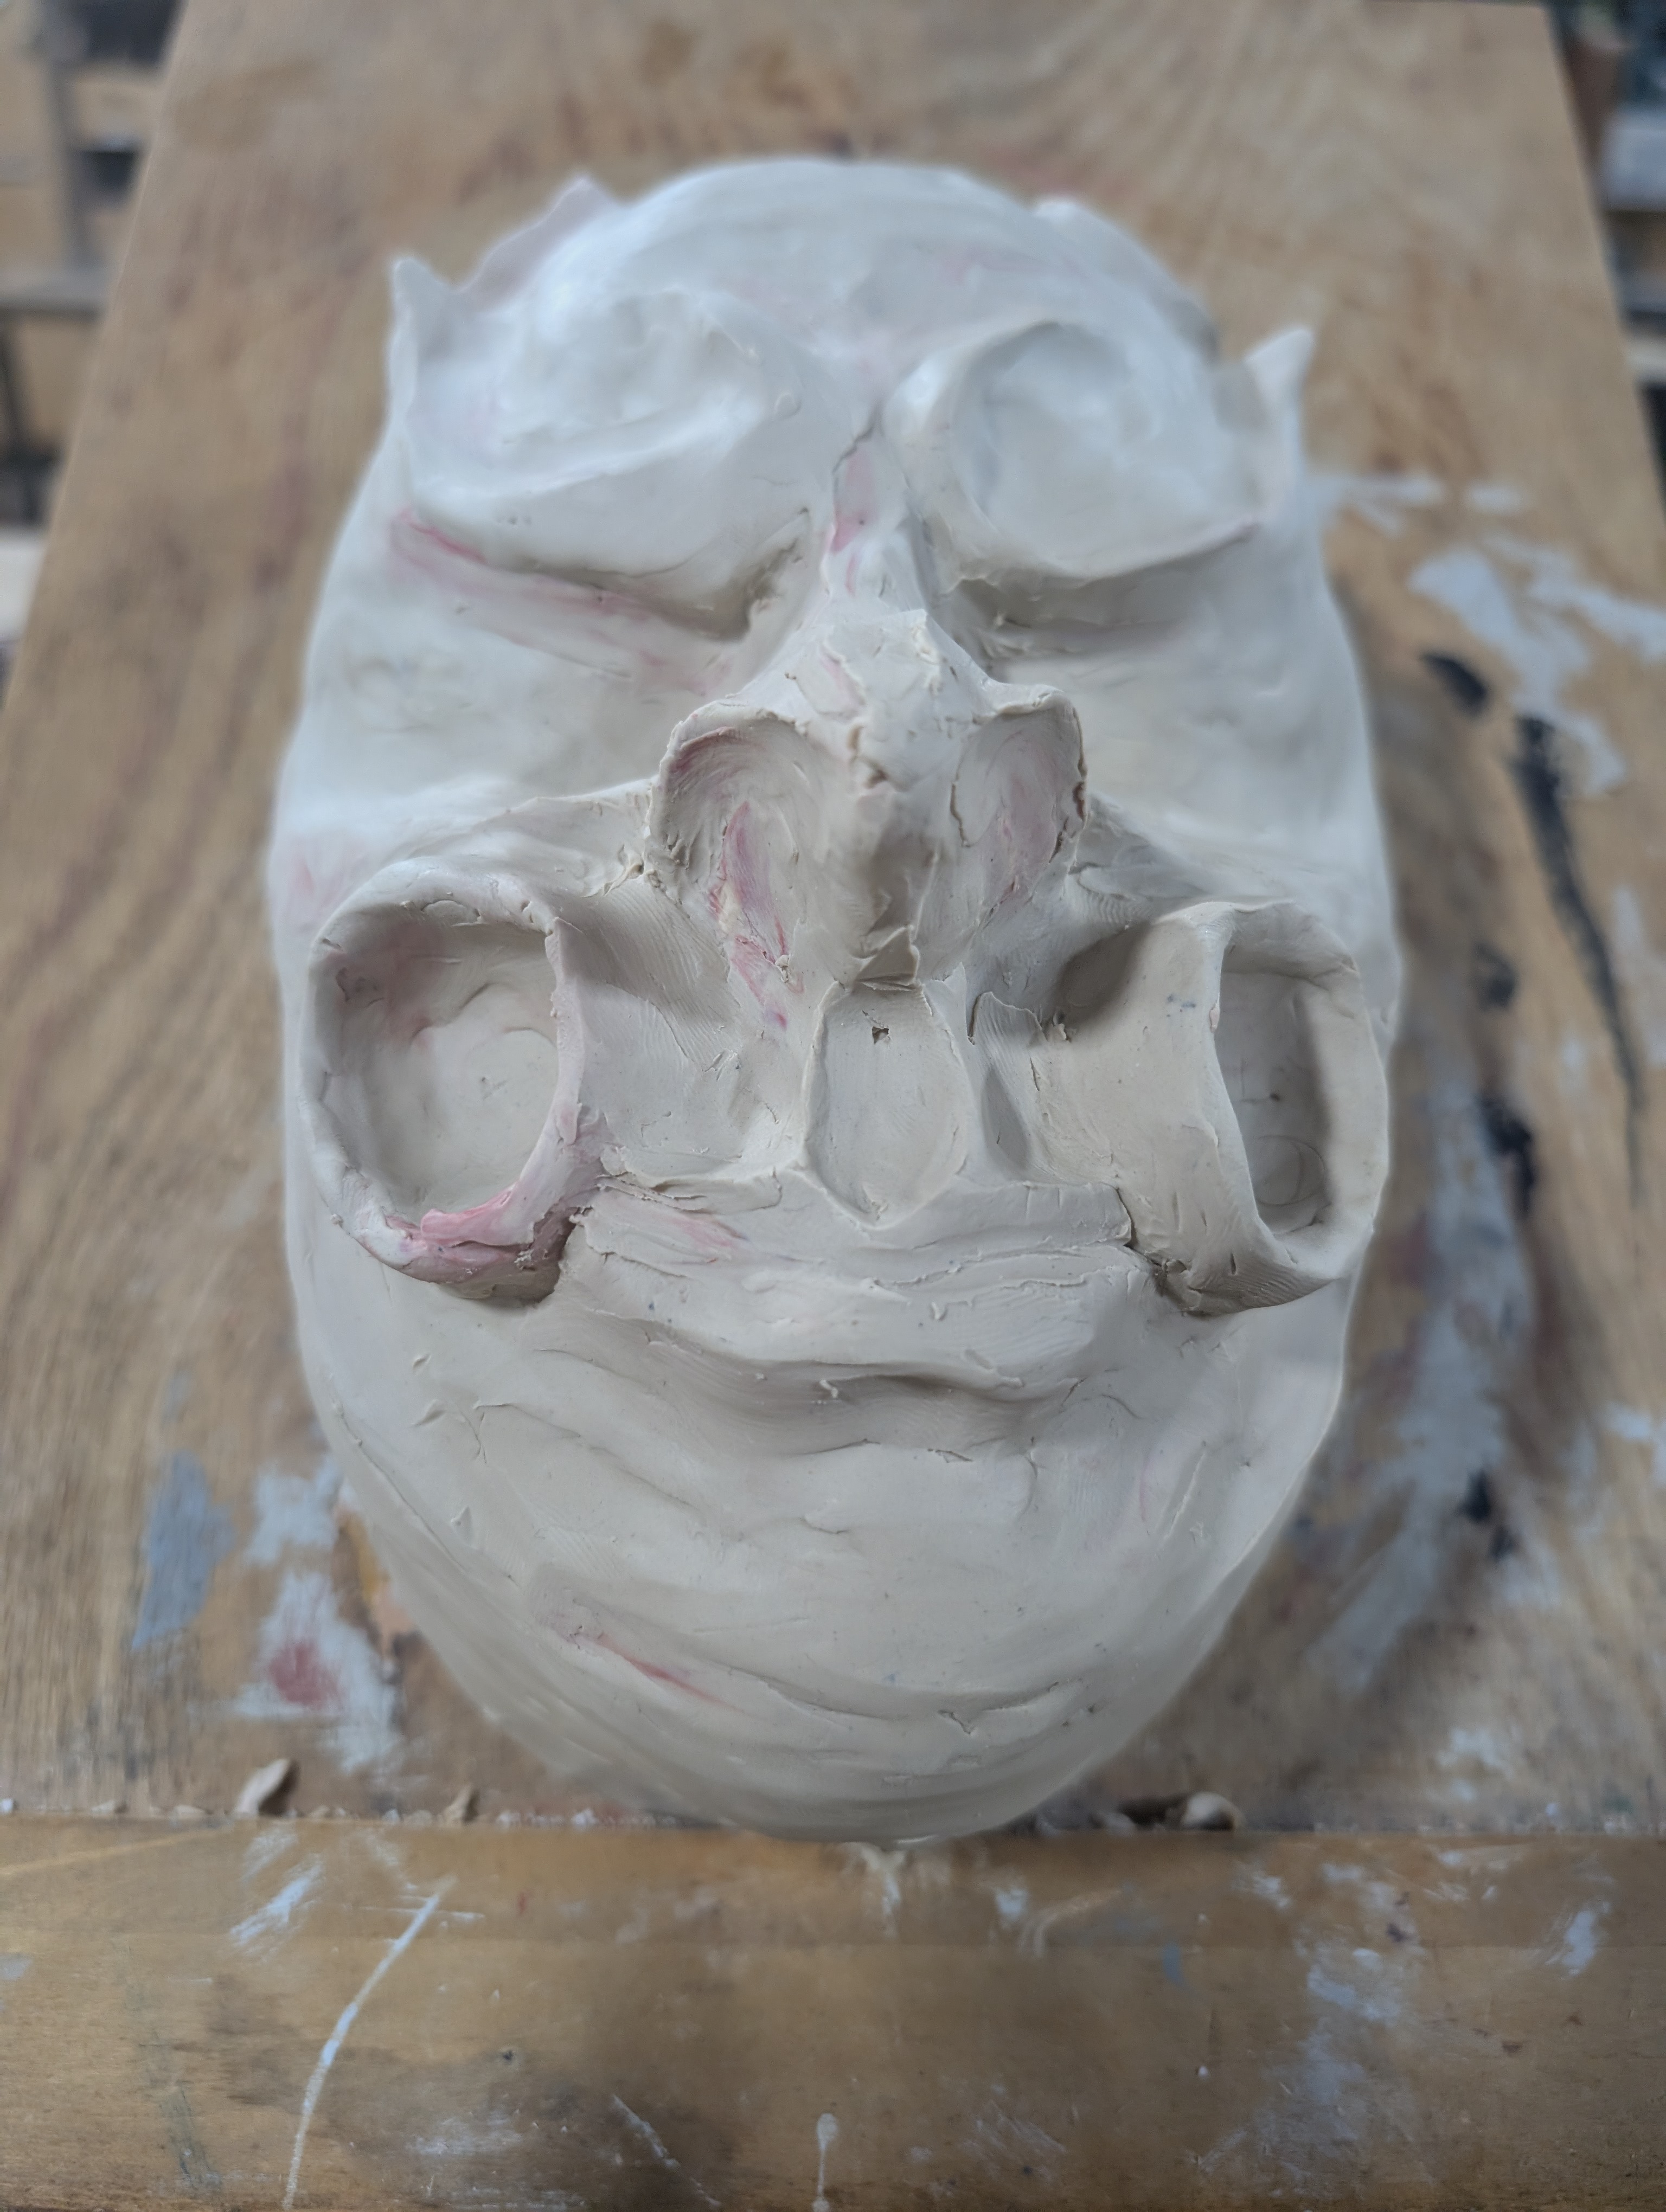
Timidly I approached the clay. We were suddenly sculptors – slowly building, cutting, and forming the shapes we had chosen. I learned about plasticine clay, such as Monster Clay or Van Aken, that is reusable, and oil-based so it doesn’t dry out. Comparing to my reference every 10 seconds, it started to look familiar. Comfortability set in when I realized that I wasn’t half-bad at this.
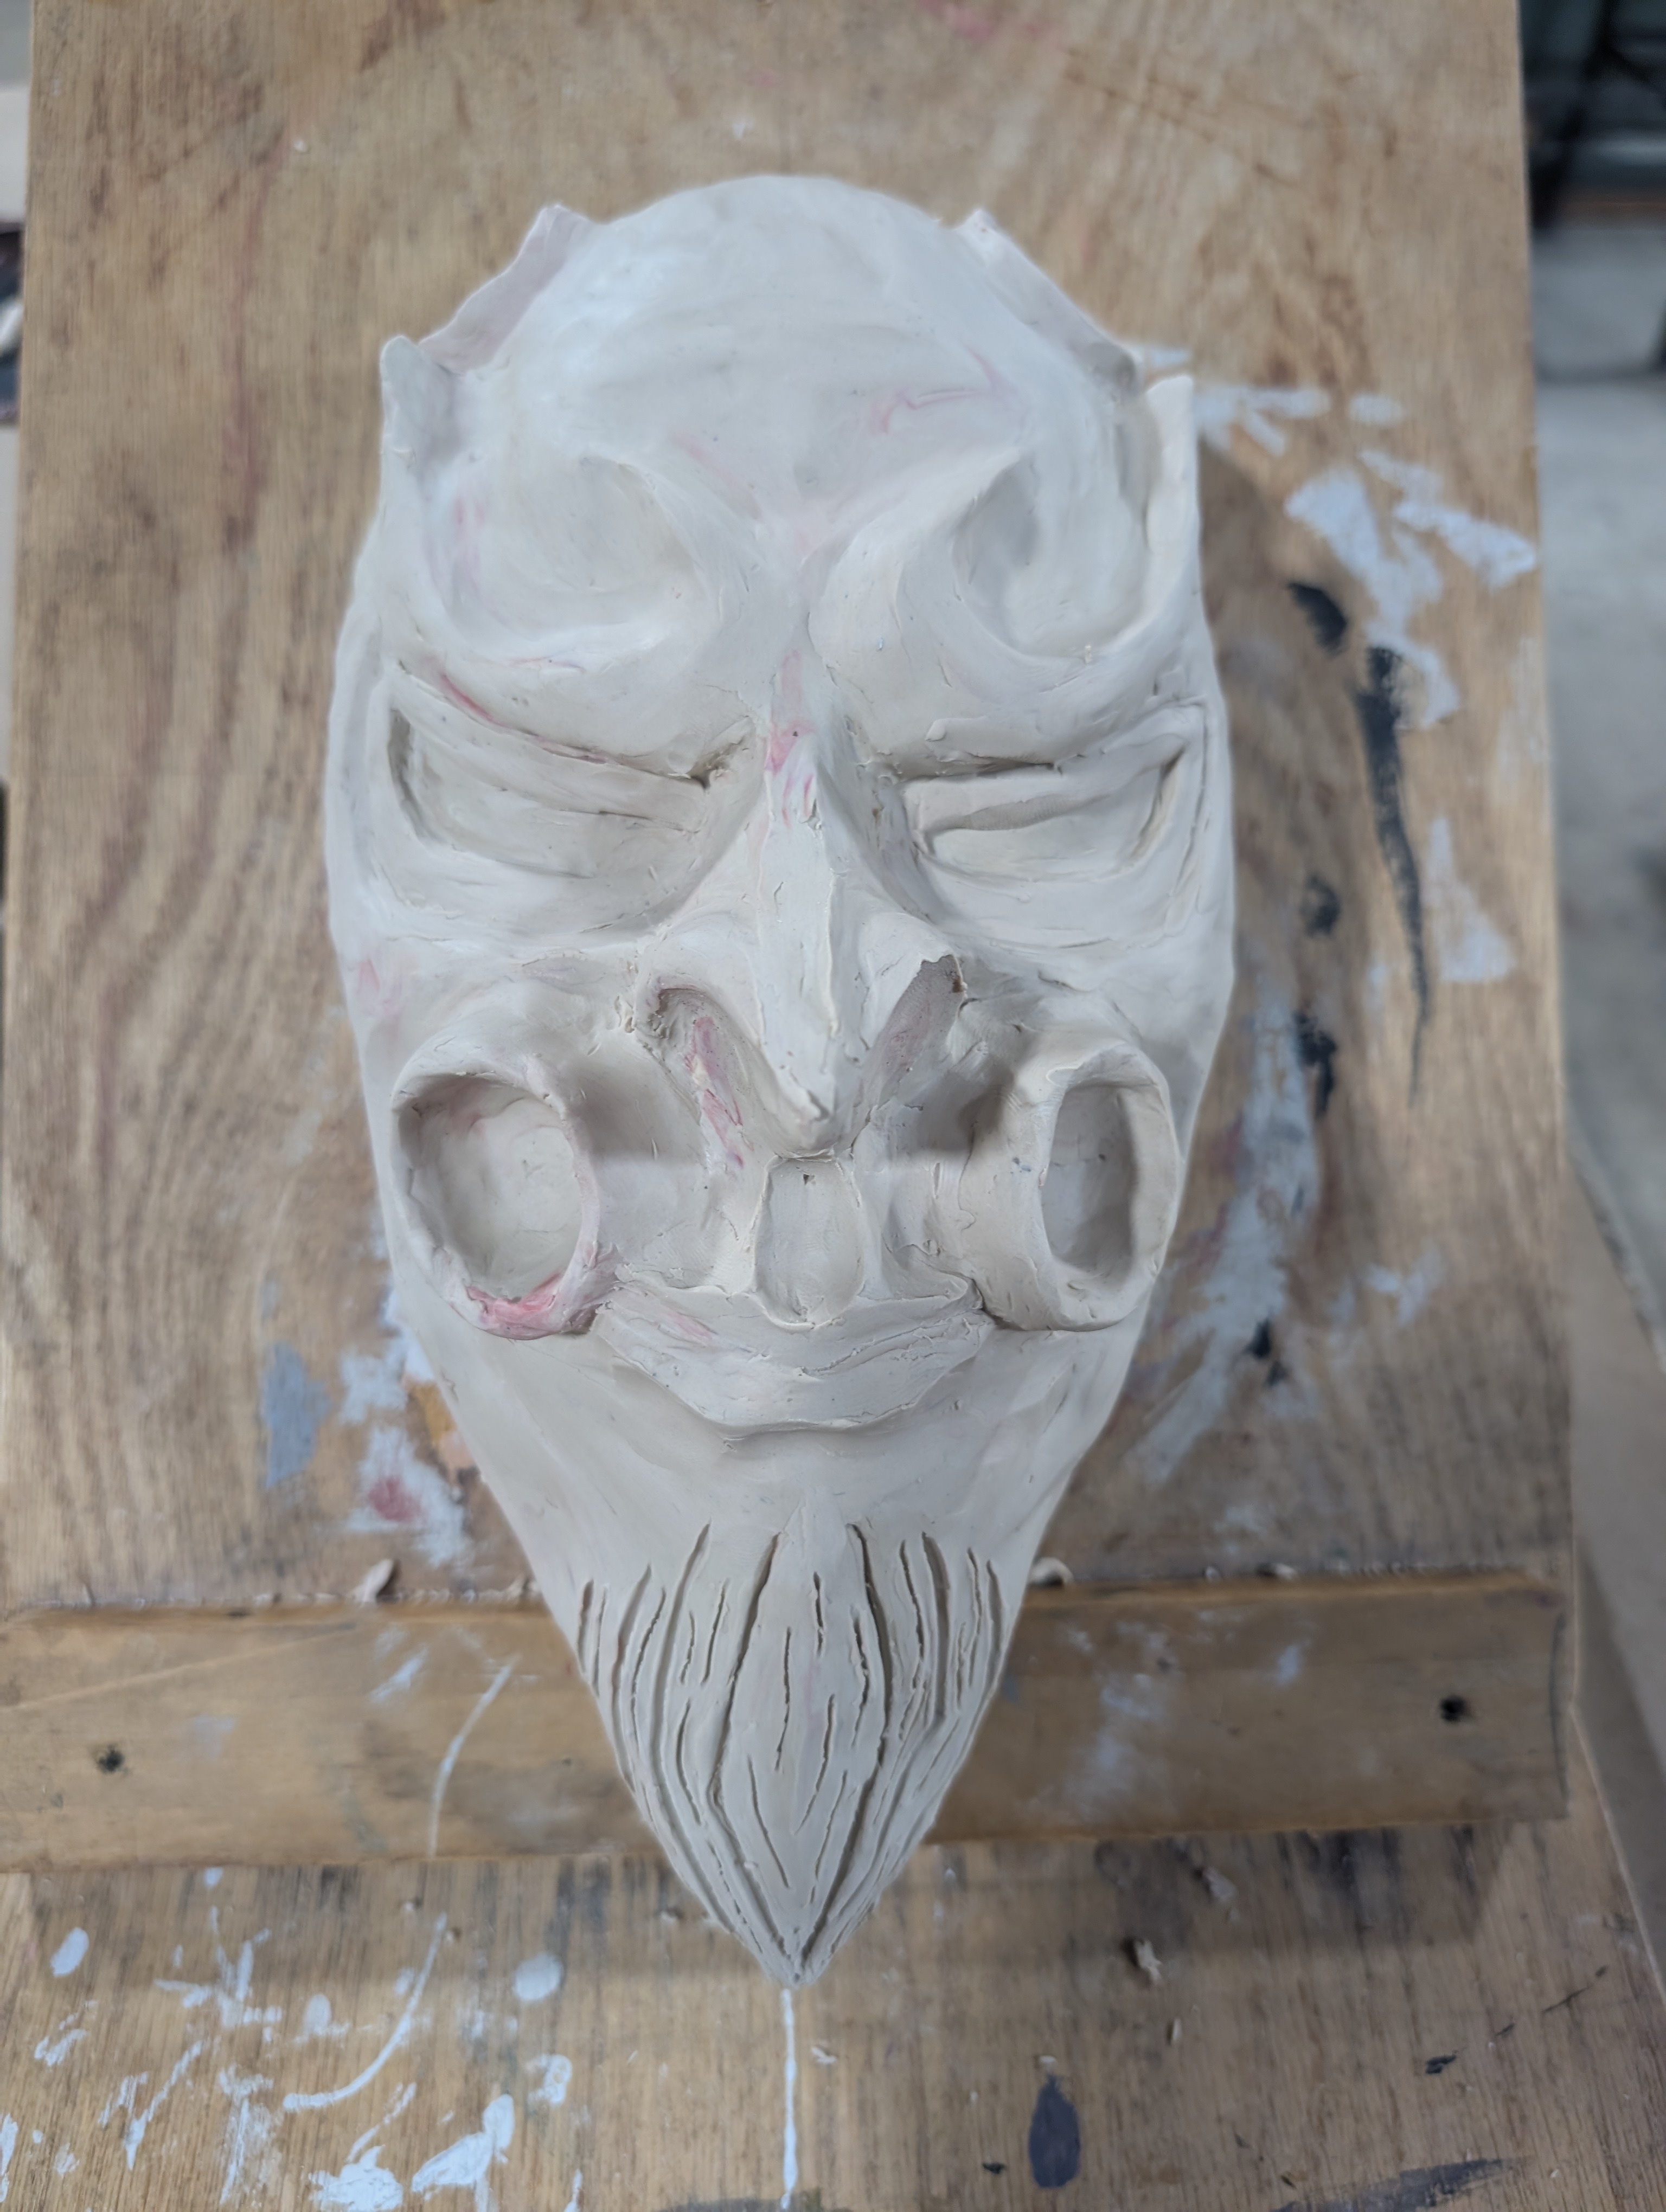
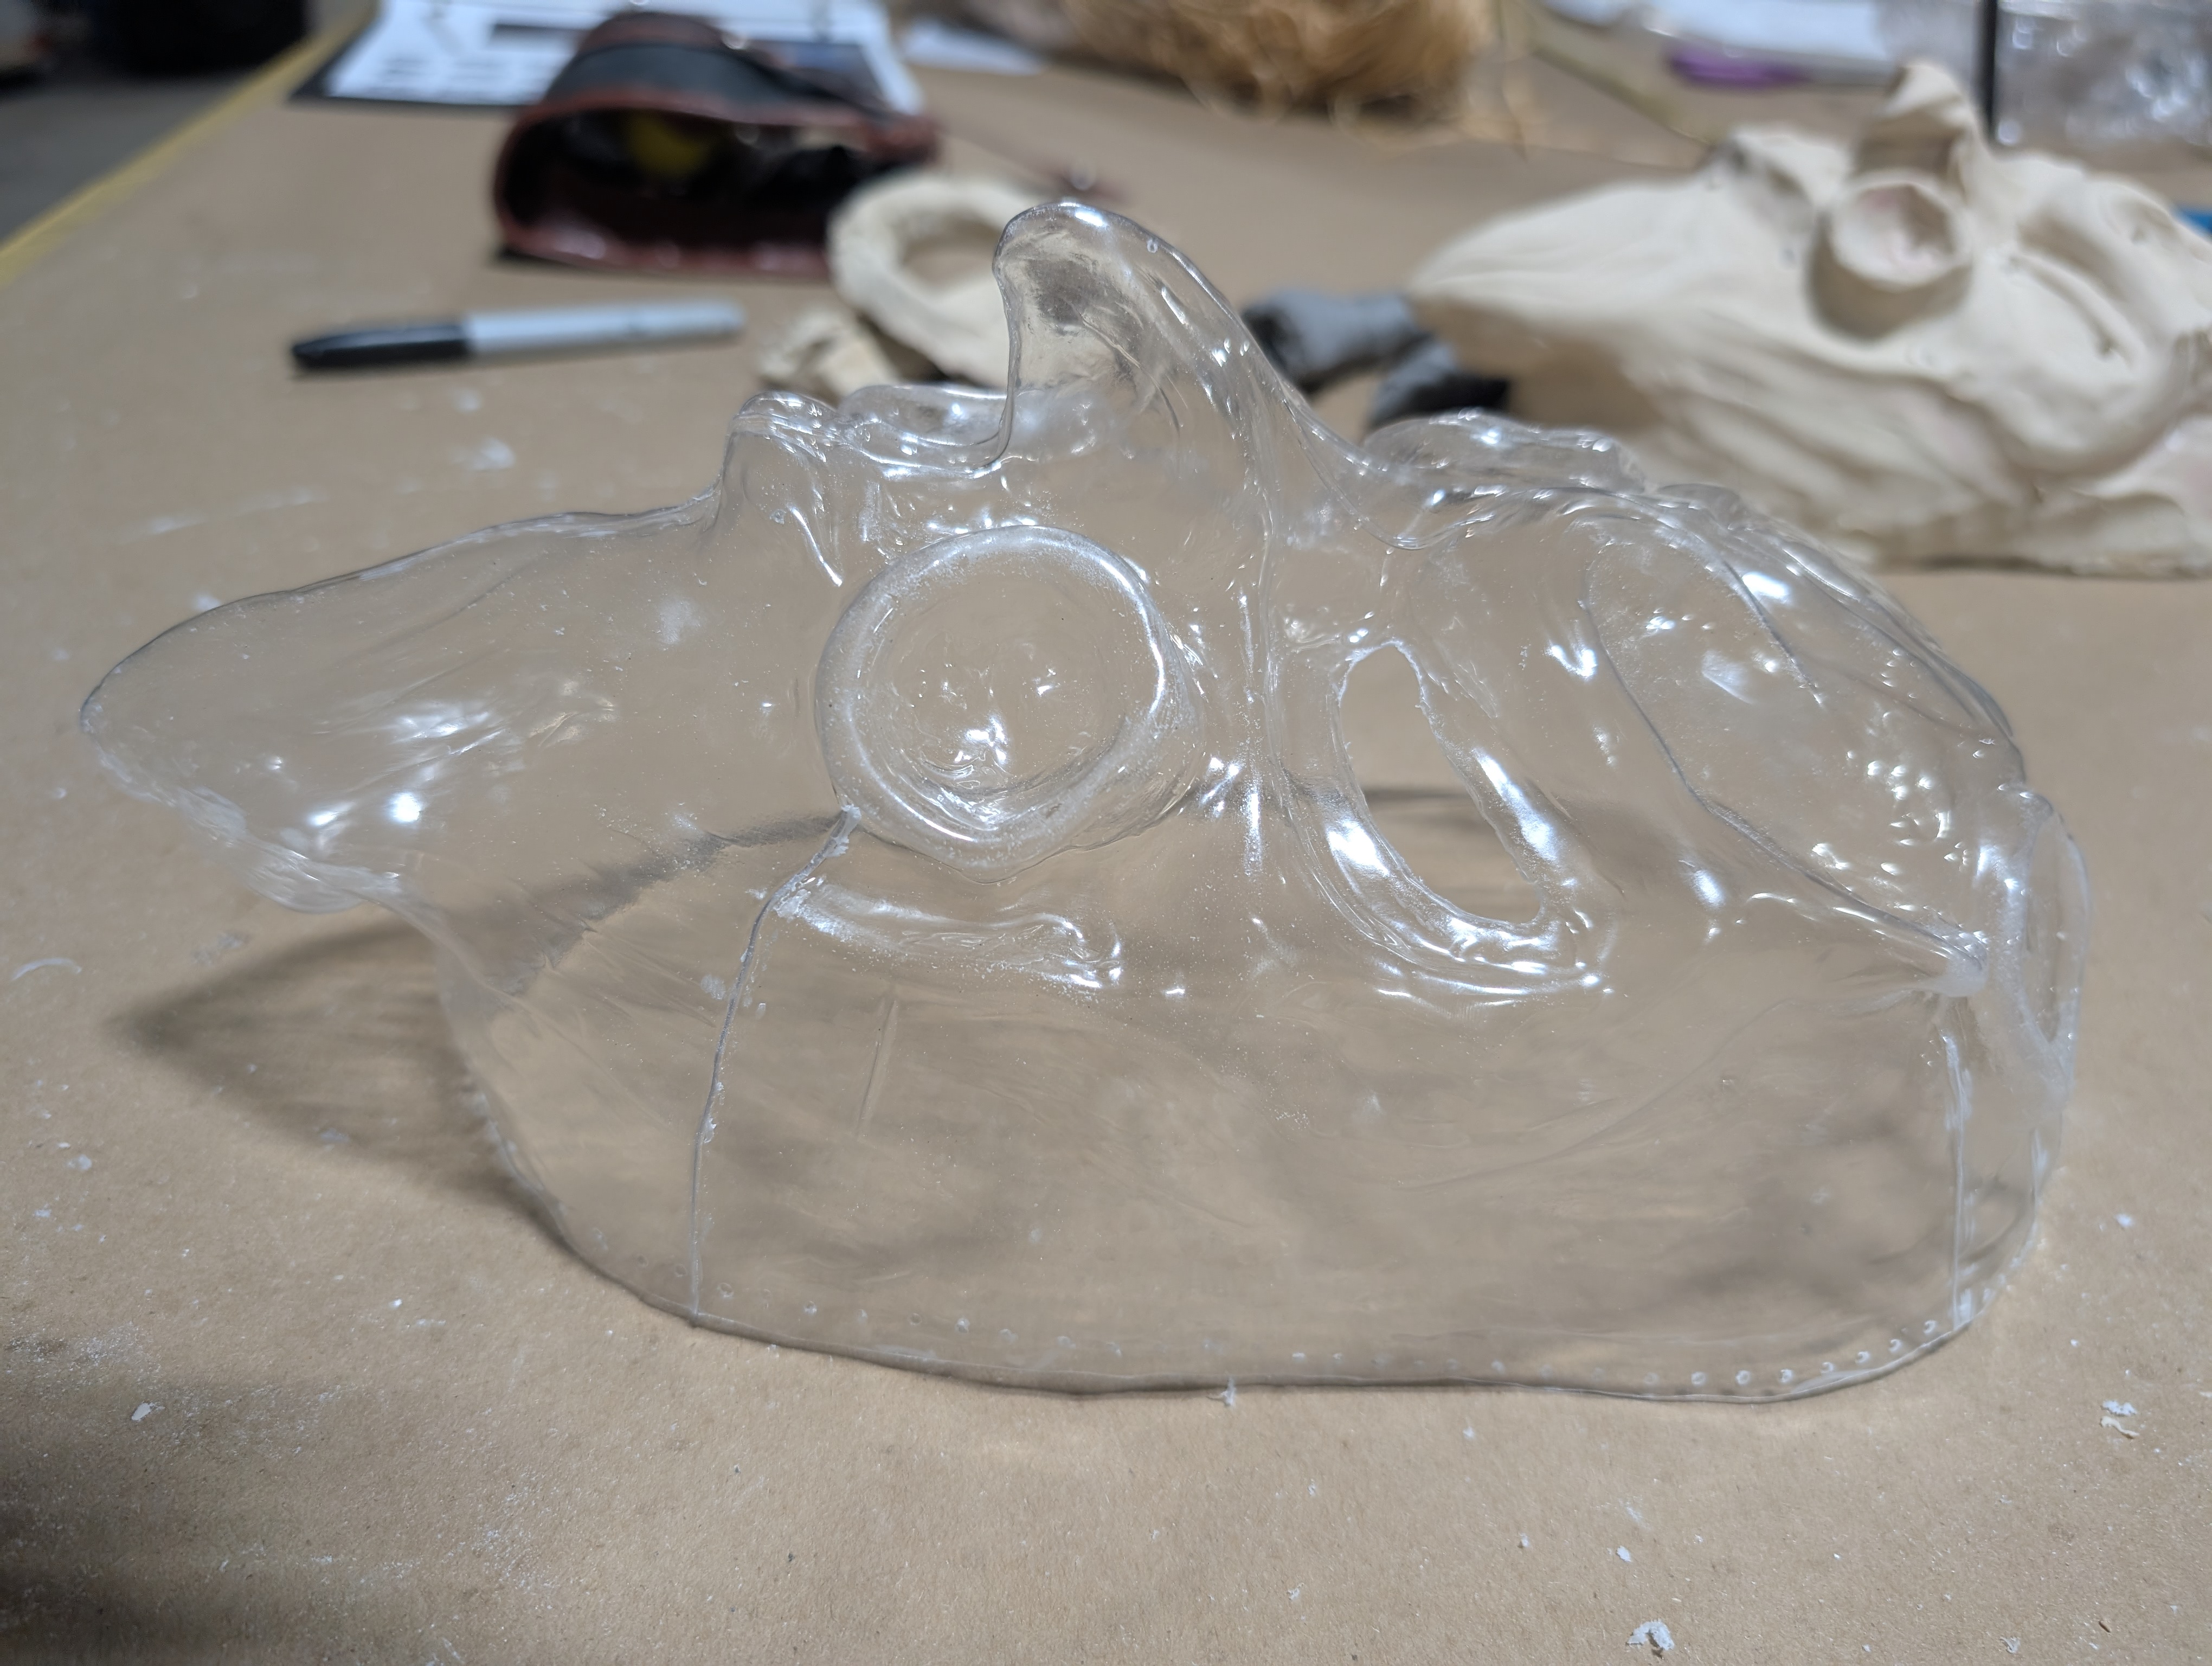
How does a clay sculpt end up as a mask? Due to the speed, and cost-effectiveness of the technique, we used vacuum-forming. With this technique, one melts a sheet of plastic, and then uniformly lowers it over an object while a vacuum creates suction from underneath. This sucks the melted plastic into the details. For any of the dips in our mask’s shape, we had to actually drill through the sculpt and plaster bust to allow airflow – and suction – into that lower portion. What you end up with is a clear shell that can be used as a positive (the mask itself), or a negative (a mould for casting).
The Horns
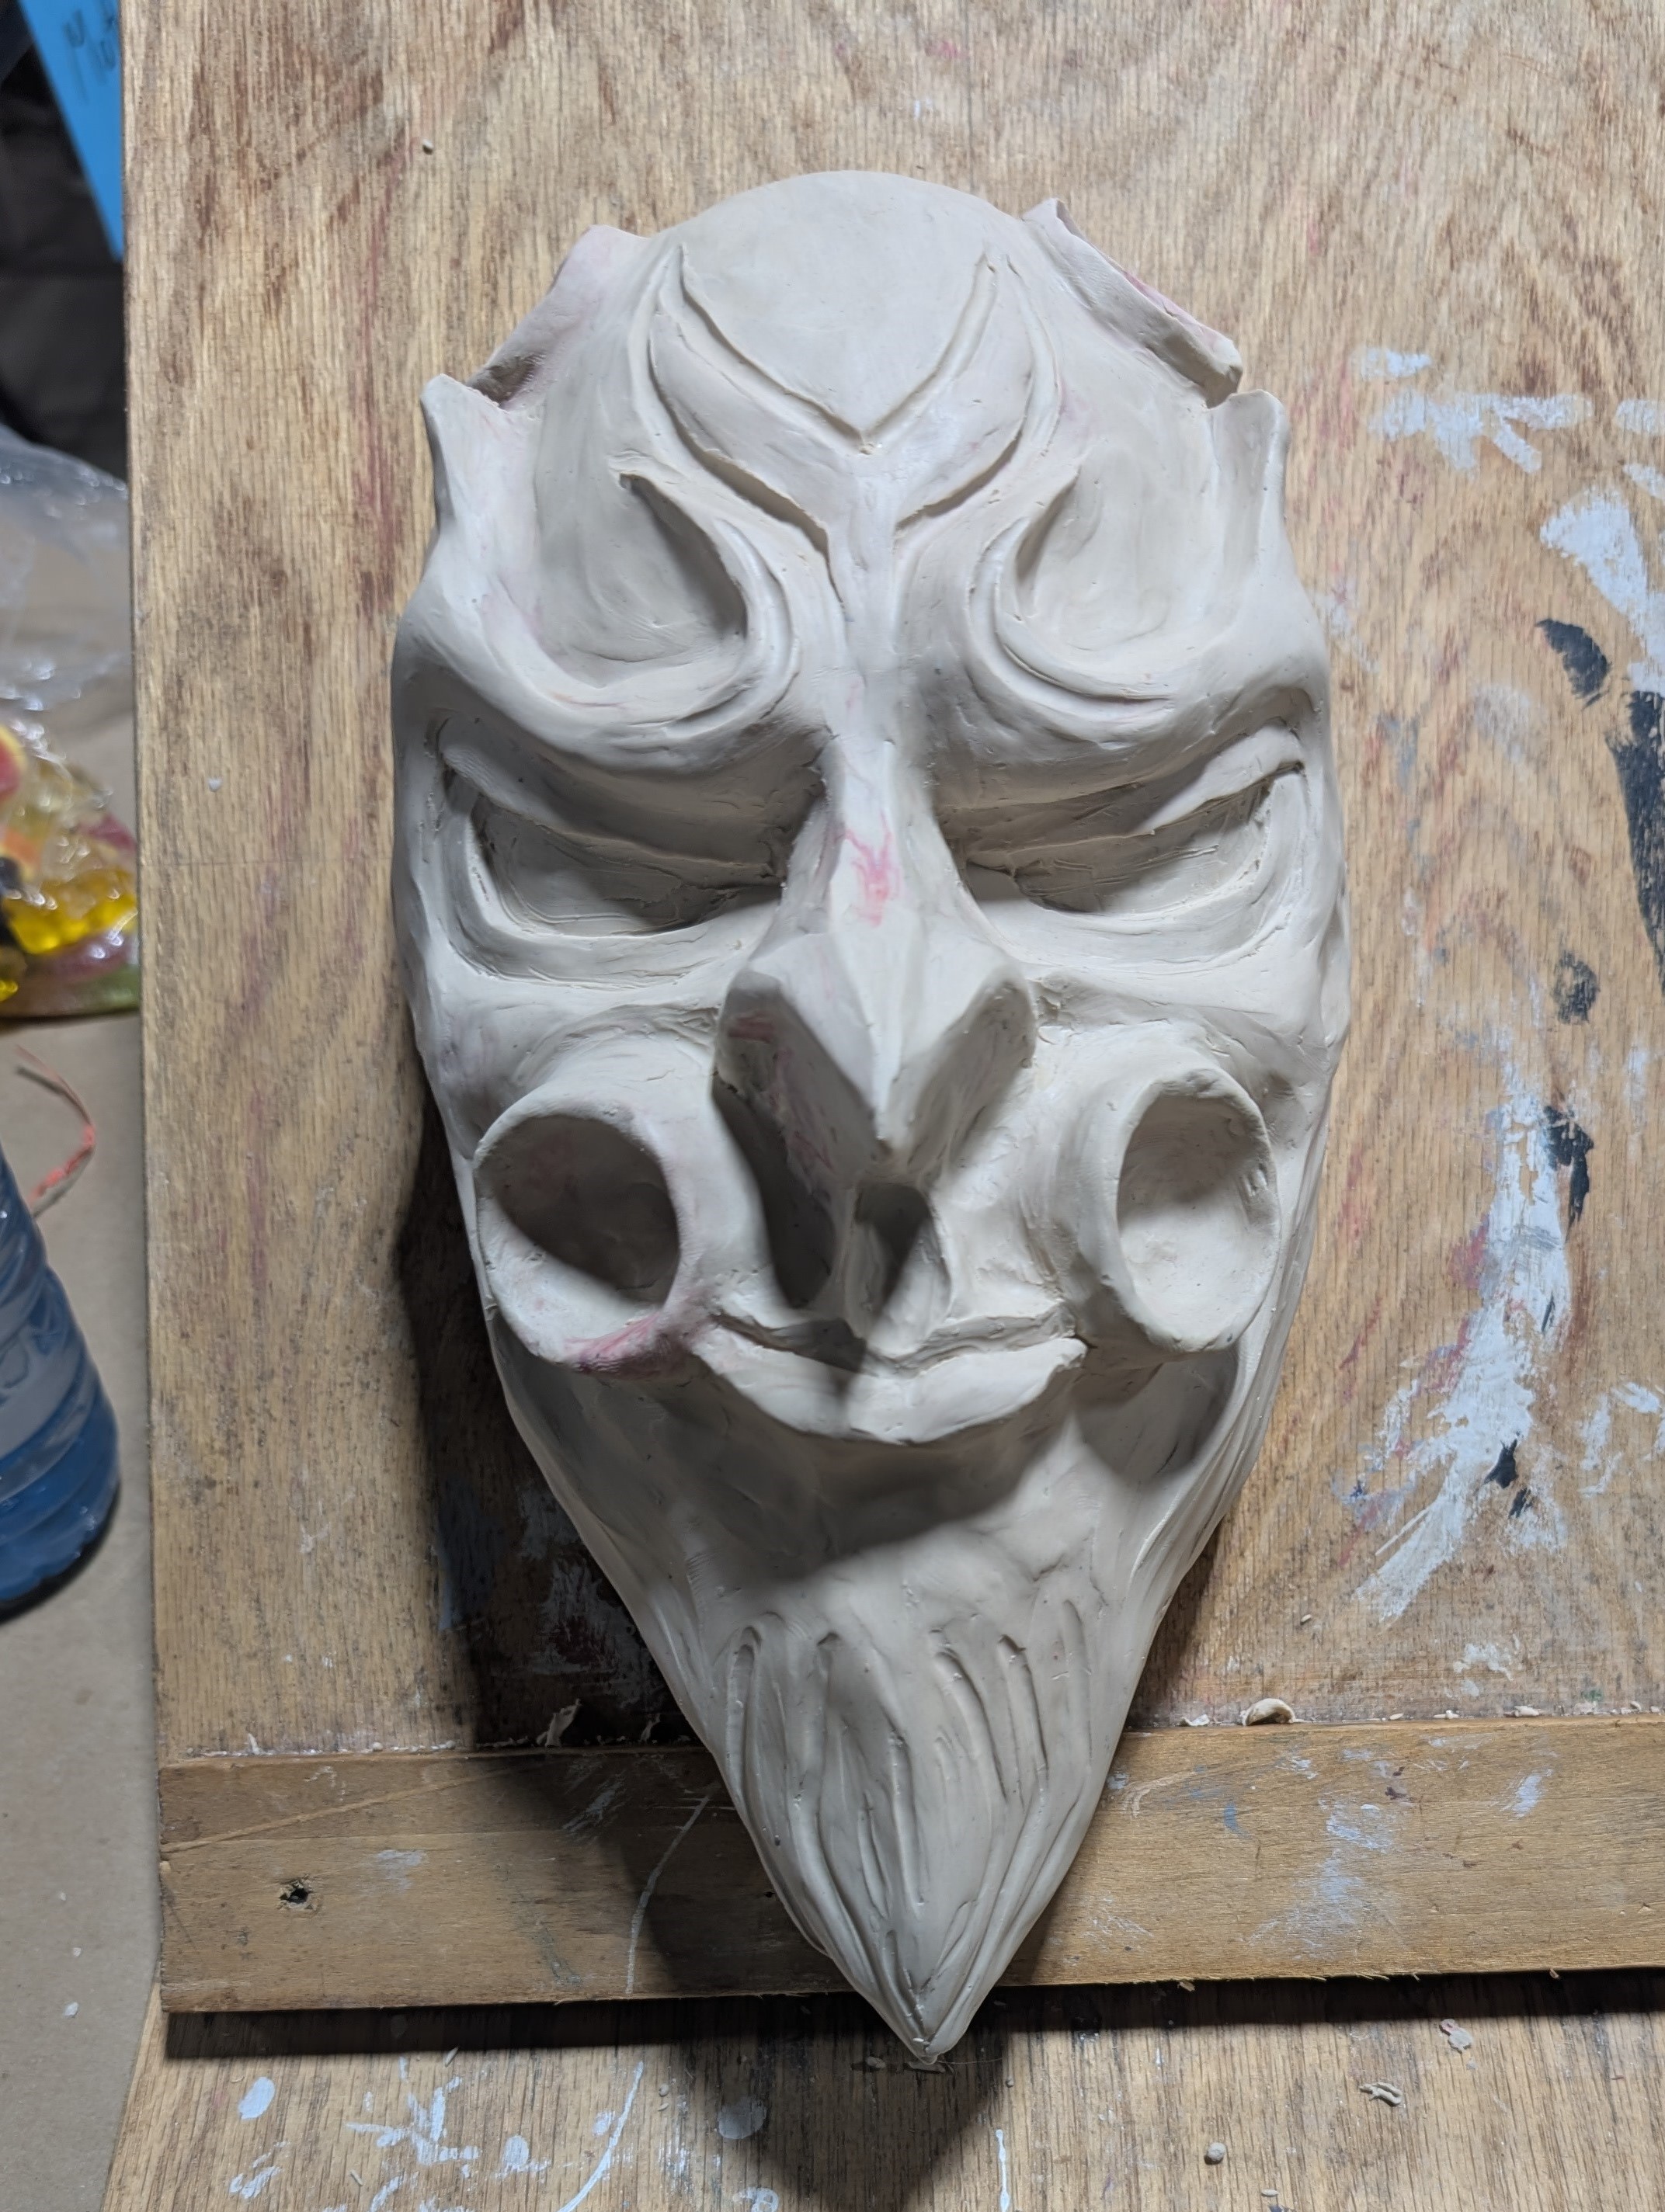
Before painting, it’s important to plan the rest of the features of the mask. The mask that I wanted to make has two horns on the top, and two tusks on either side of the mouth. These features are too large to be able to sculpt and cast with the base, so other means are necessary.

The top horns are easy enough – take a block of plastic packing foam, and cut the shapes out of it with a band saw. Then use a handheld rotary tool to slowly sand to shape. I then used iterations of glue and sanding to fill in the pores of the material and smooth it out. Mid-way through the process of smoothing, I kind of liked some of the rough texture of the horn, so I kept it instead of fully smoothing it.
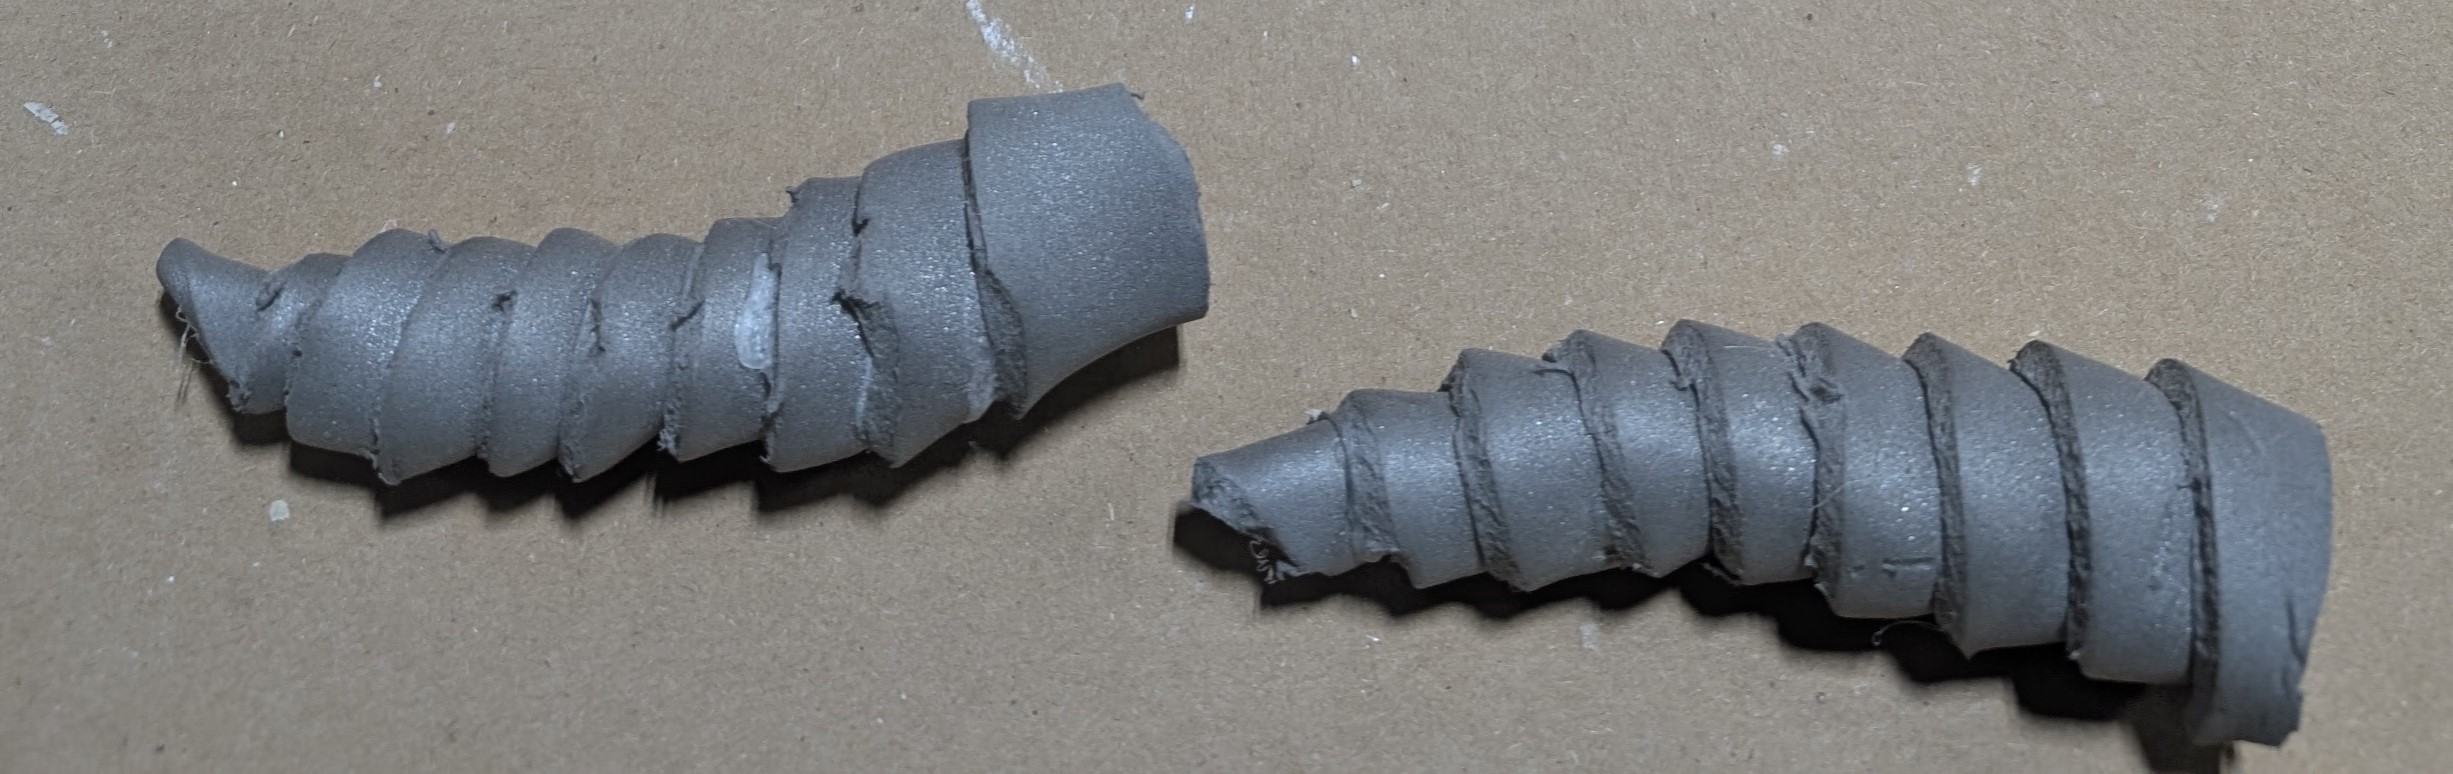
While I was working on the mask, Ken was thinking about ways to create the crustacean’s shell effect of the tusks. He came up with a really neat method of cutting a long triangle of foam material from a dollar store camping mat, and then rolling it up to create these rippling layers.
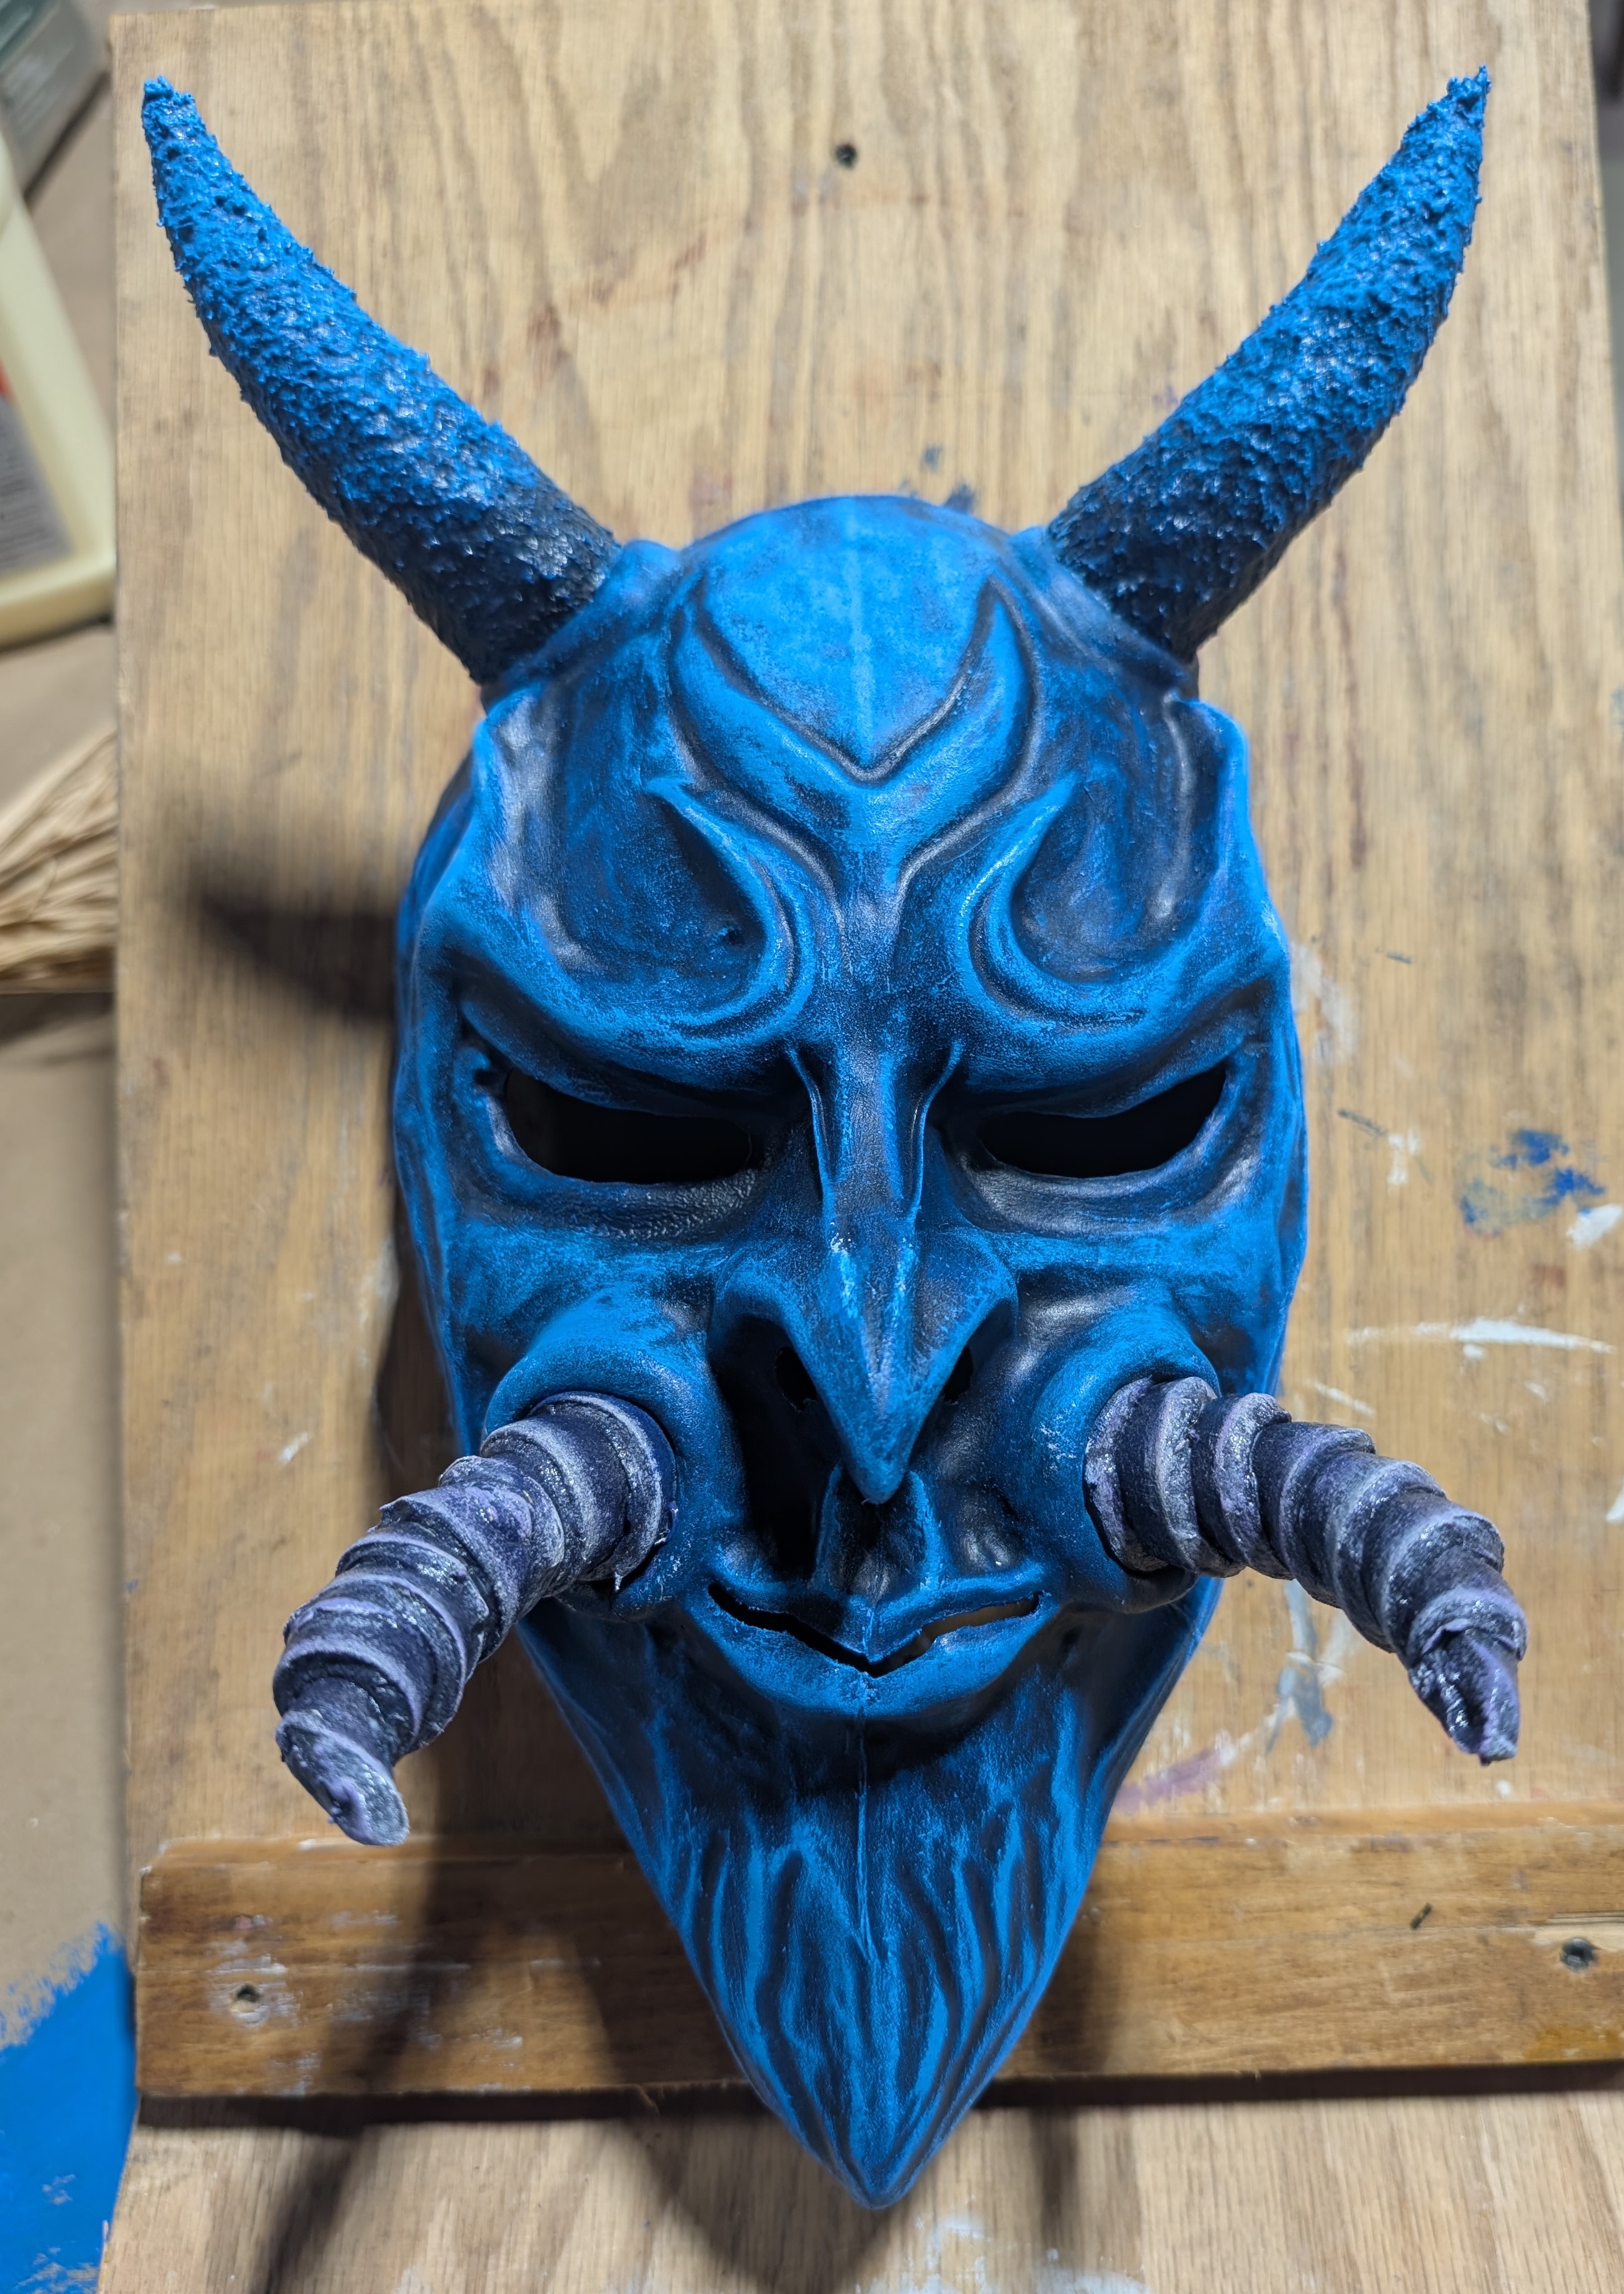
Both horns and tusks were then attached to the mask with hot glue.
Painting and Finishing
Amazing! With all of our shaping complete, it was now time to paint, and add the finishing touches. The plastic can’t take paint on its own due to its smooth, non-porous surface. To remedy this, we sprayed it with a quick, even coat of Gorilla Glue adhesive spray, then powdered it with corn starch (baby powder also works) to take away the tackiness. This gives the mask a frosted look, and creates rough edges that the paint can hold onto.
Now, I’ve never painted before – well, maybe finger paints as a child, although I can’t remember. Still, I had zero clue what I was doing. I took a huge glob of paint on my brush, and started to coat it like one would coat a fence. My technique was met with skeptical looks by the instructor. He said “you need to learn how to dry brush”.
This technique reduces drying time, amount of paint used, and helps to create texture. He taught me about taking small amounts of paint, and even drying my paint-filled brush on some paper first.
Not only that, but I learned about working from dark (lowlights) to light (highlights). One starts with applying their lowlight colour across the object. Then, slowly lighten the shade while angling your brush more after each shade to only hit the highest parts of the object. After applying some white paint and glossy varnish to the highest highlights, I had finished.
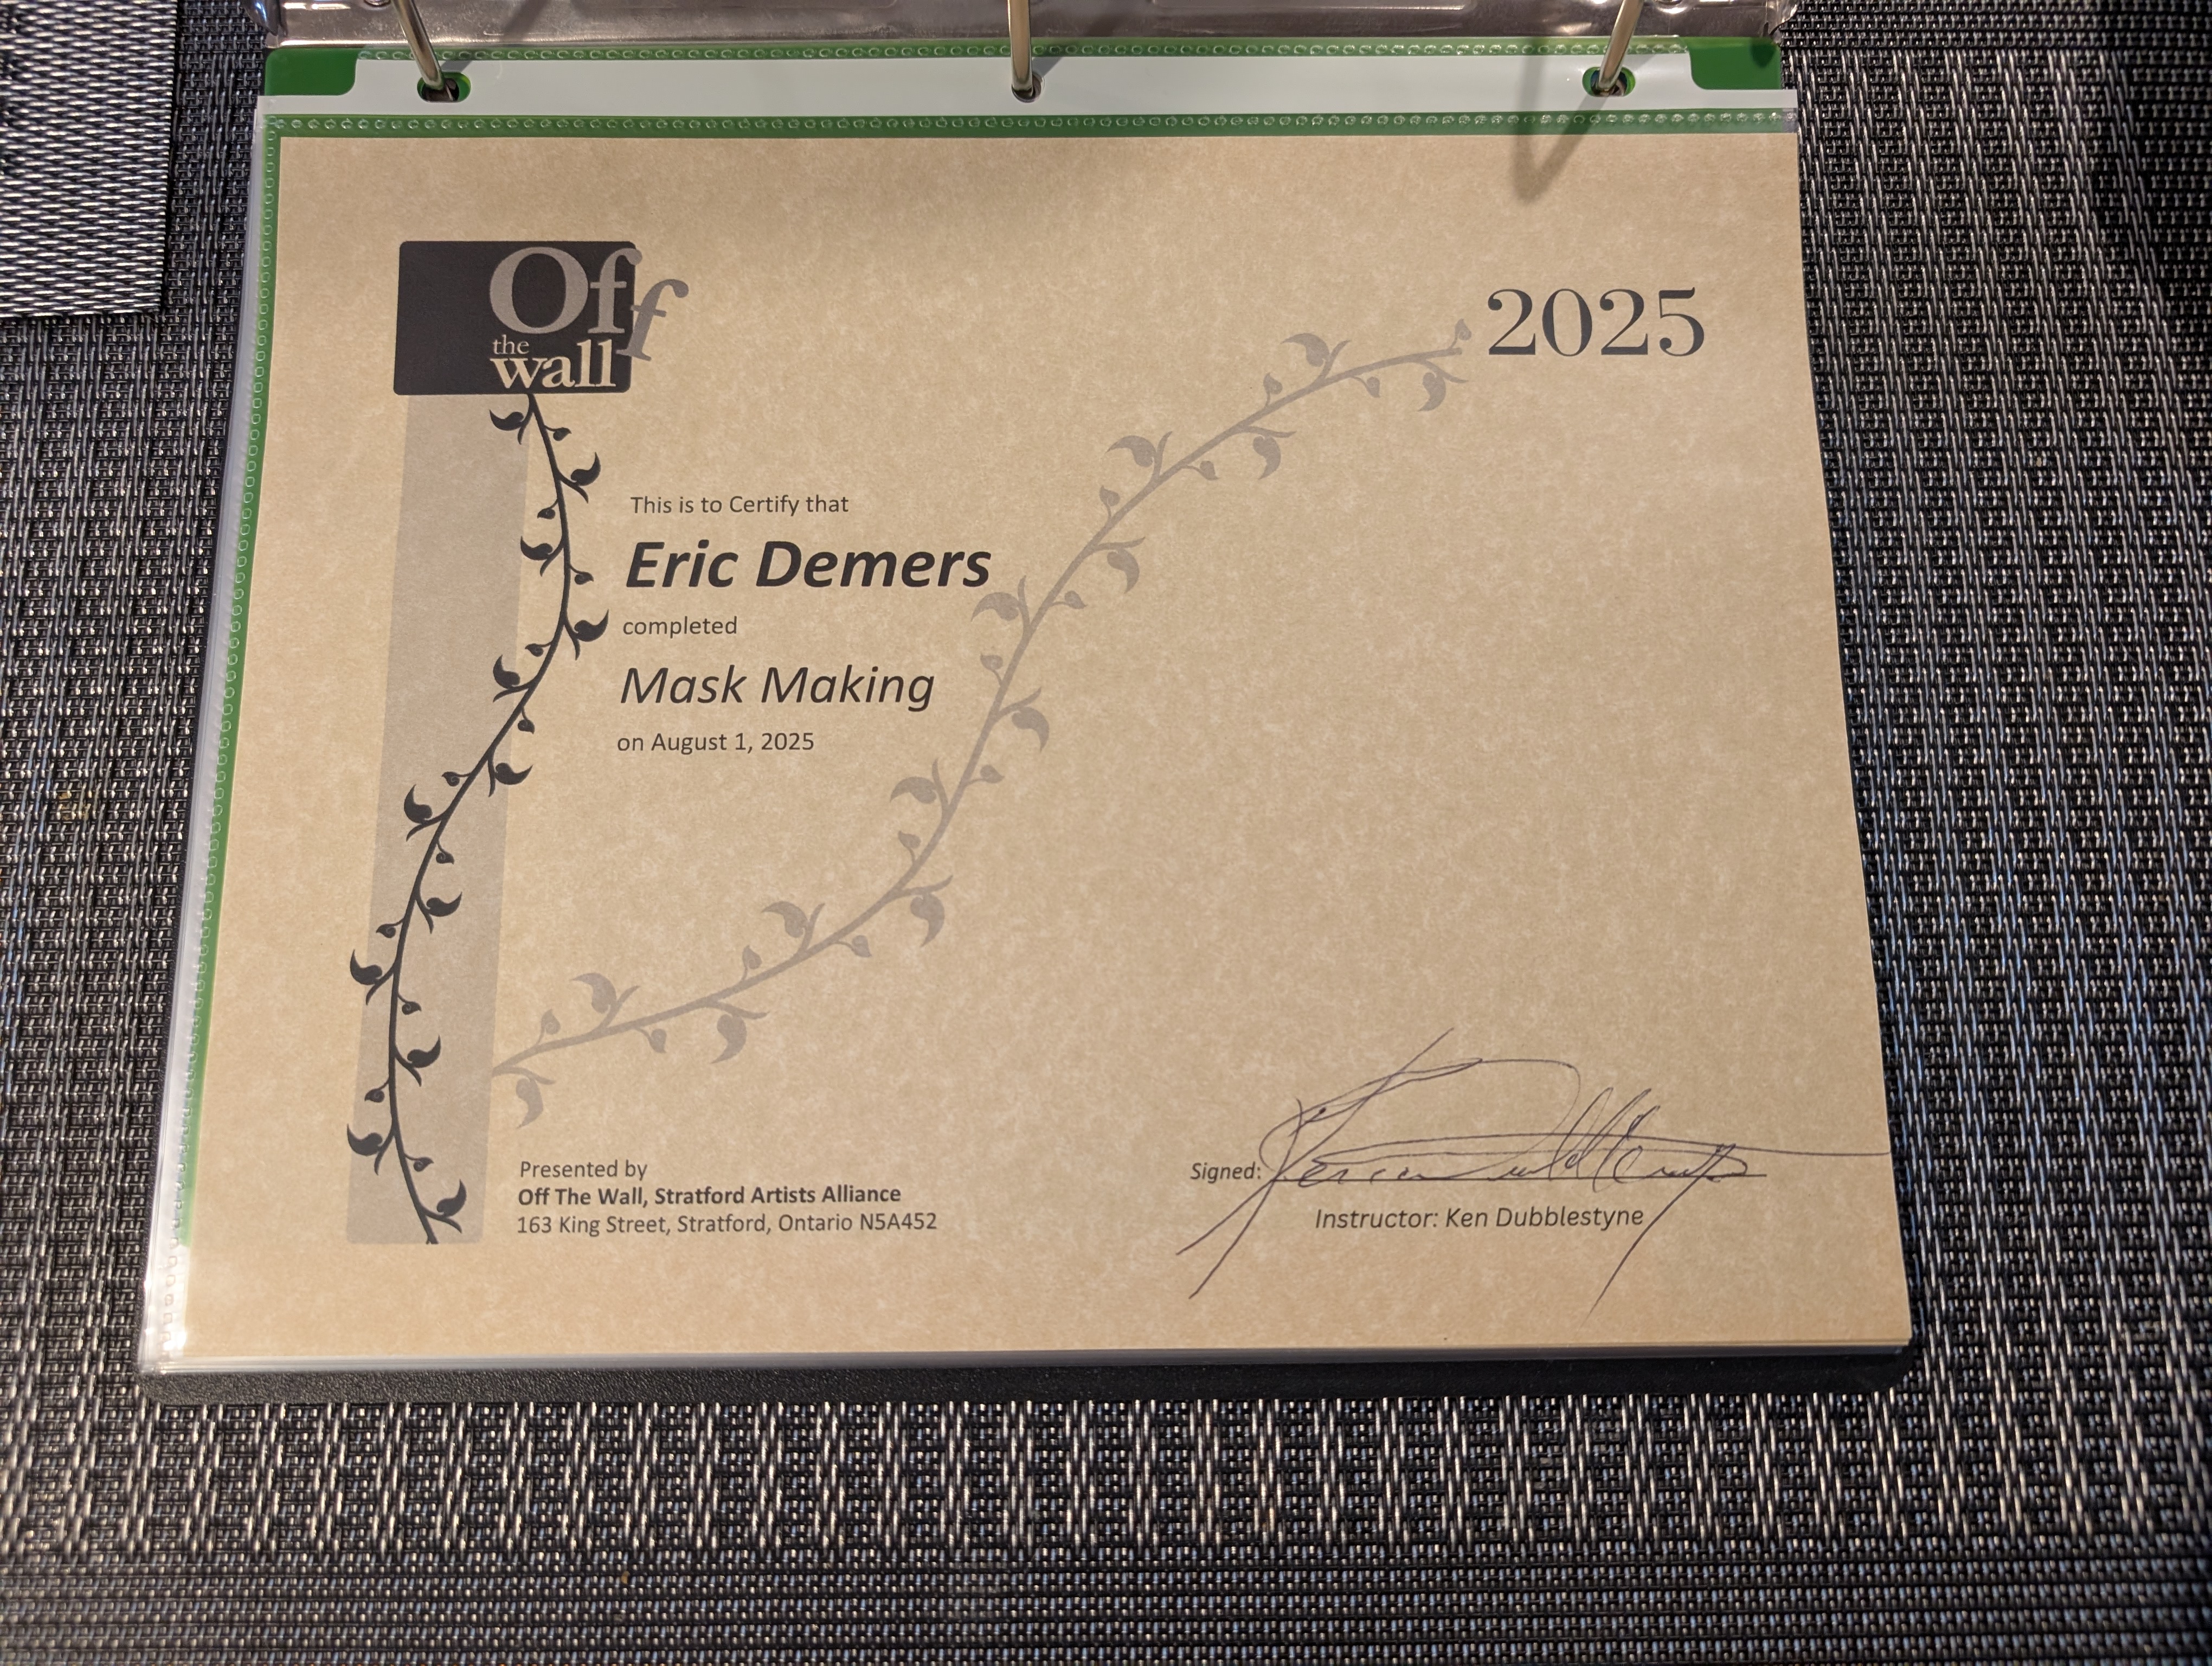
Course Completed
I am extremely satisfied with the end result! The course took 5 diligent days of work, with some students needing more time, and some needing less. Ken was an amazing instructor, and a well of techniques and knowledge. I loved seeing the creative concepts that each student created. Thank you to Off the Wall for putting on such a wonderful course! I am eager to take more, if only to collect these cute certificates that they give at the end.