
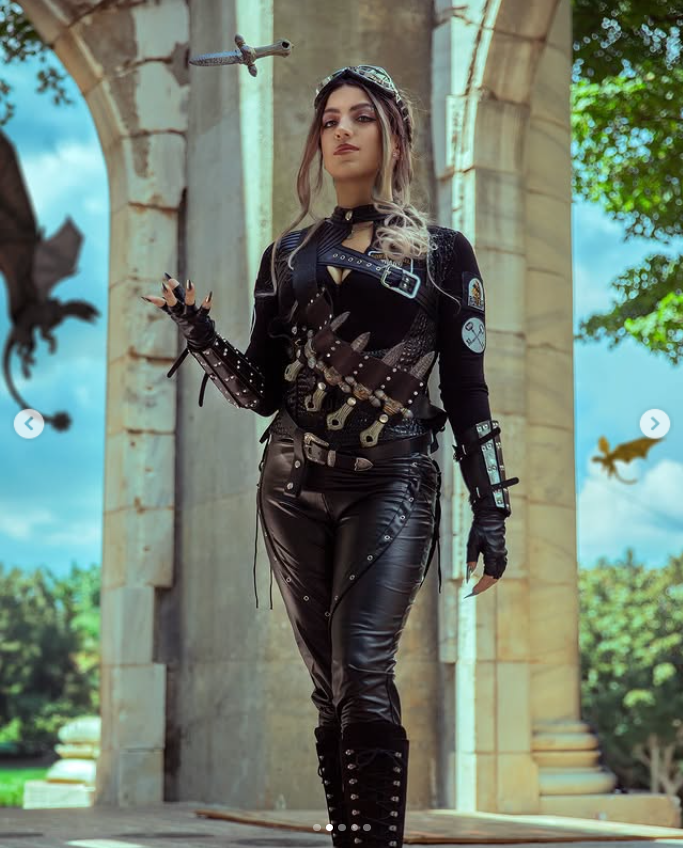
My cousin runs a fantasy event planning business, and her latest ball is themed around the series Fourth Wing. She’s putting together cosplay for the character Violet Sorrengail whom gets gifted a set of throwing knives – almost Kunai-style daggers – from her romantic interest. She knows I 3D print, and asked if I could create them.
Violet Sorrengail’s daggers in Fourth Wing are a set of twelve custom-made, small-gripped throwing knives gifted by Xaden Riorson. They feature black handles, short blades, and are engraved with intricate, glowing Tyrrish runes (or knots)
She also sent me images of various knives that she liked.
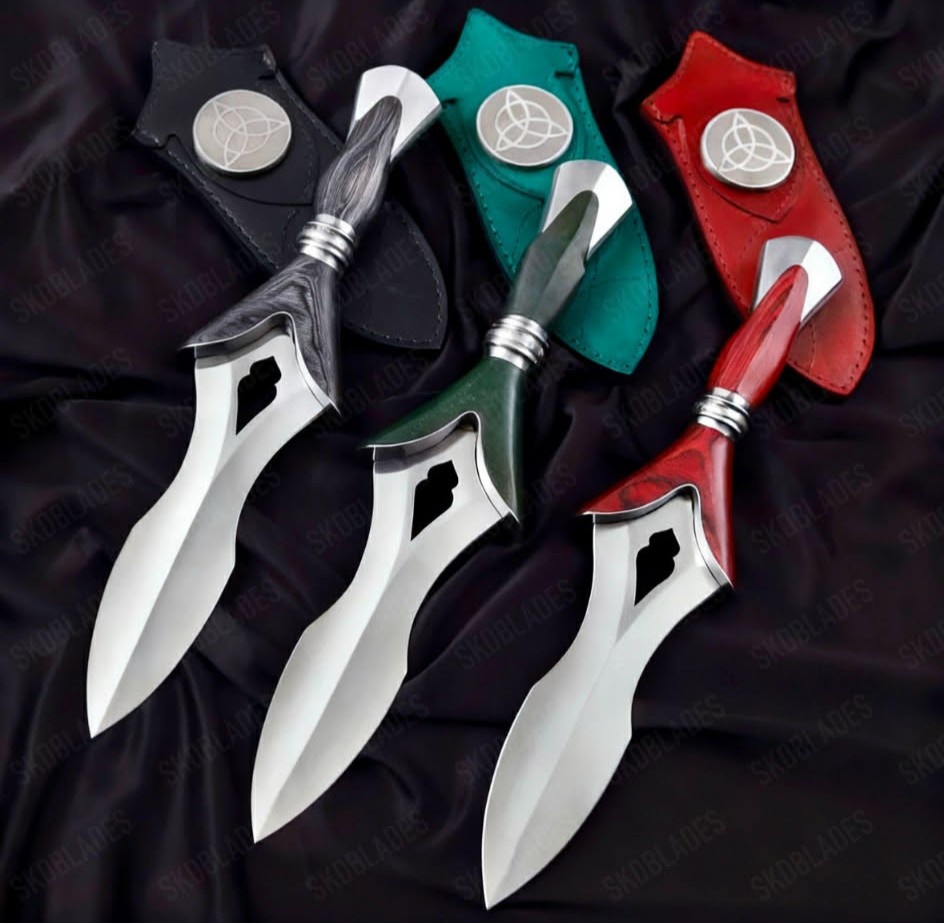
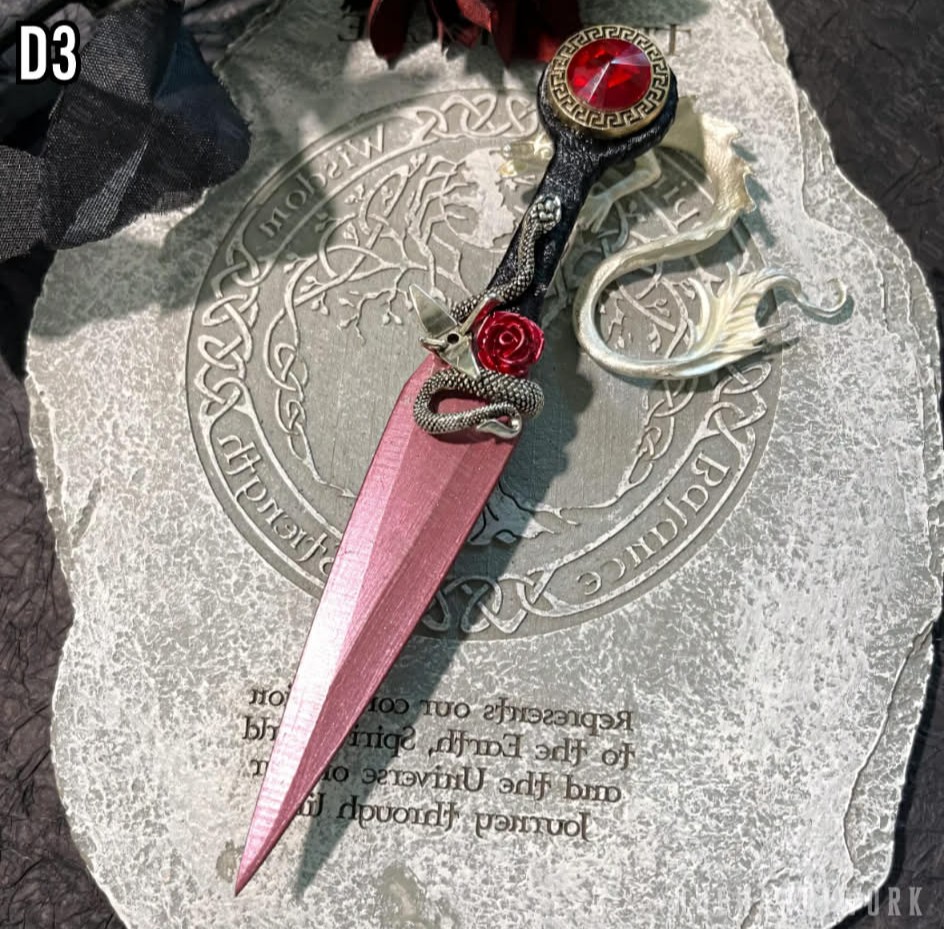
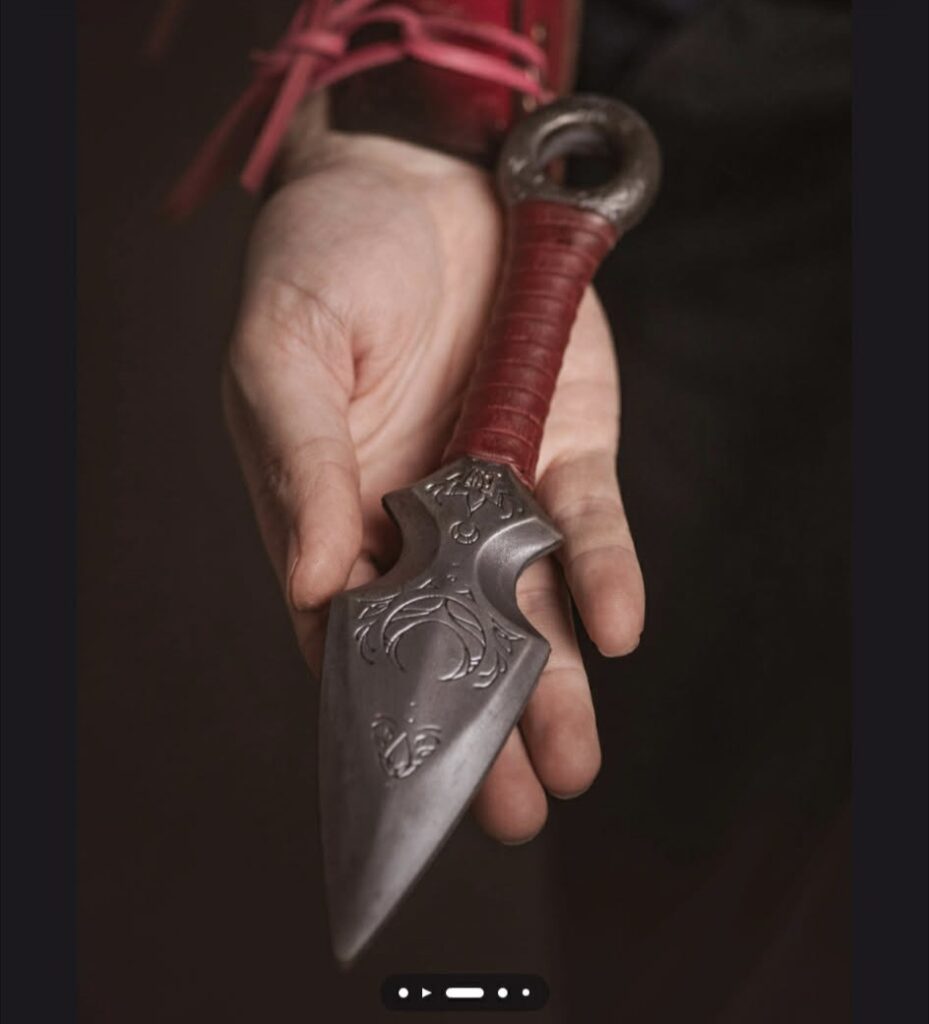
With this description, and these sample images in mind, I took to the computer to start designing.
The Process
The goal is to design a 3D model of a dagger that I can print out on my 3D printer. To do this, I’ll need to design shapes in 2D using Inkscape, and then import those shapes into Blender to extrude them into 3D. Lastly I’ll import this into Cura slicer to create the machine instructions for my printer. My printer is an Ender 3 V2, which is a bit dated but does the trick.
From Desire to Design: Designing the Dagger
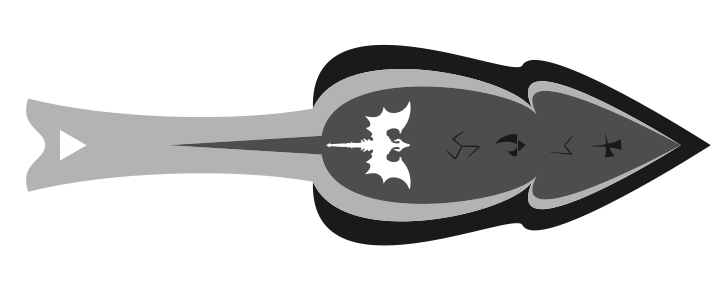
I wanted to design a 2D shape for the dagger in a vector graphic program. This would make it easy to play with the design before investing too much time. So, I took inspiration from the daggers above, and mapped out a general shape. I then had a great idea to create a little inlet in the middle of the blade, which I felt would give the knife a lot of intrigue once we go to 3D.
For some added features, I found a dragon silhouette that I can use to cut all the way through the blade. I then searched for a font that looked like fantasy runes, and ended up finding one called Skaven Runes that would look fantastic for the etched writing.
My cousin thought it looked great, but wanted a different shape than the circle – triangles are more in these days. She also wanted the handle a bit wider. With a little redesigning I arrived at the final dagger.
Inkscape produces Support-Vector Graphic (SVG) files – a math-based file that can be scaled infinitely large without losing any of the details. These curves can be brought into a 3D program like Blender for further design.
Adding a Dimension: 3D Modelling
Blender supports the direct import of SVG images. From there, I can convert those 2D “curves” into a 3D “mesh” instead. We can extrude meshes, but not curves – that is to say we can pull this shape out of itself to give it thickness. I then scaled down the top piece, which sharpens all of the surrounding edges.
I then import this model into Cura to create our 3d printing toolpath, and load it onto our printer. I printed 6 daggers with 2 halves each. We print a dagger in 2 halves because 3d printers need to cooperate with gravity, and can’t print the blade easily as an overhang. An overhang is a piece of an object floating in the air above the build plate.
Finishing the Dagger: Post Processing
I made each half symmetrical so that I could put them back-to-back. If not symmetrical, then I would have simply had to mirror the object in Blender. This lets me put Elmer’s Glue-All on each side, and clamp them together for 24 hours to create a single, solid object.
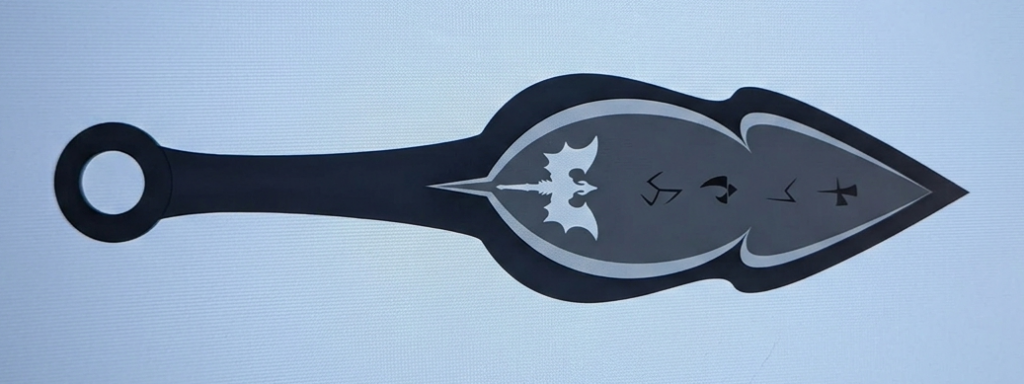
Now we can paint it with gesso, and sand it. This fills in the layer lines left behind by the 3d printer, and creates more of a smooth finish. All that was left to do is paint, for which I applied an even coat of metallic silver.
a complete dagger.
For a final element of intrigue, I wanted to wrap the handle with something. I obtained this leather cord by deconstructing a leather belt weave that I picked up at the thrift store for $3. This created a bunch of small strands of leather perfect for adding extra texture and colour.
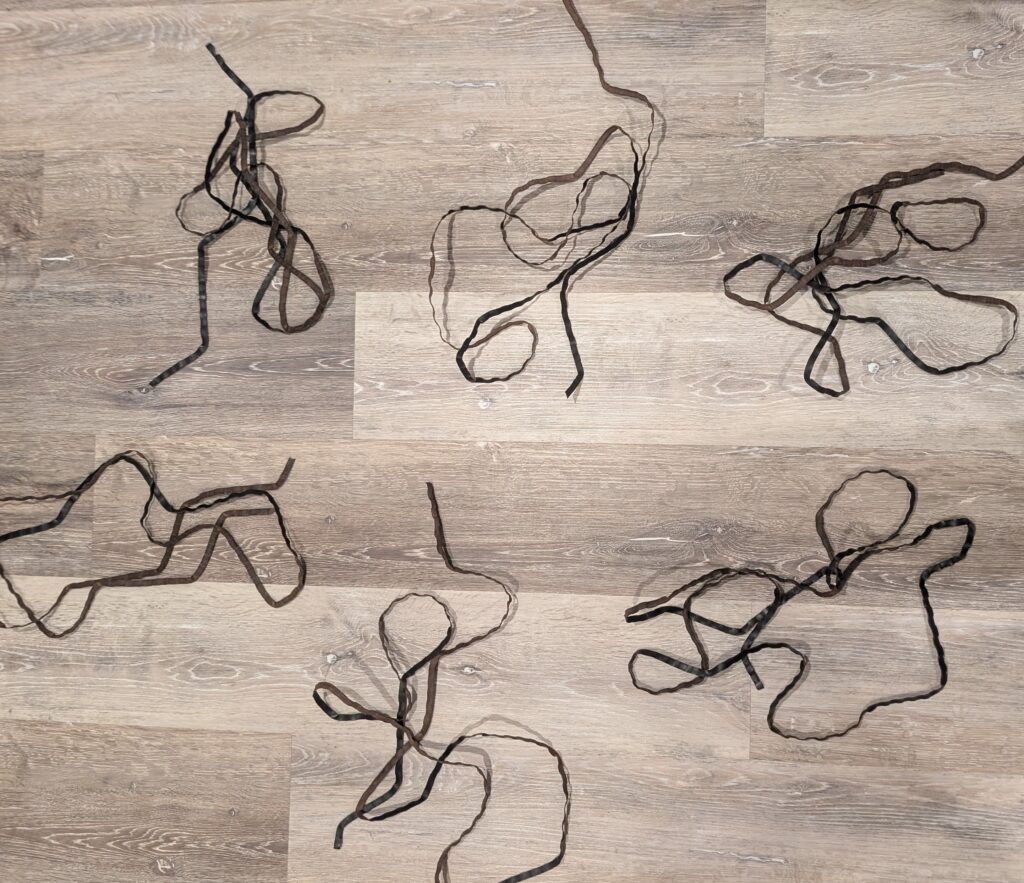
The only problem was that the leather couldn’t nicely wrap around without creating see-through gaps. I needed something else. Aha! I just happened to have the perfect thickness of twine to do a base wrap before the leather. After some quick wrapping and a bunch of hot glue, we arrived at the final result.
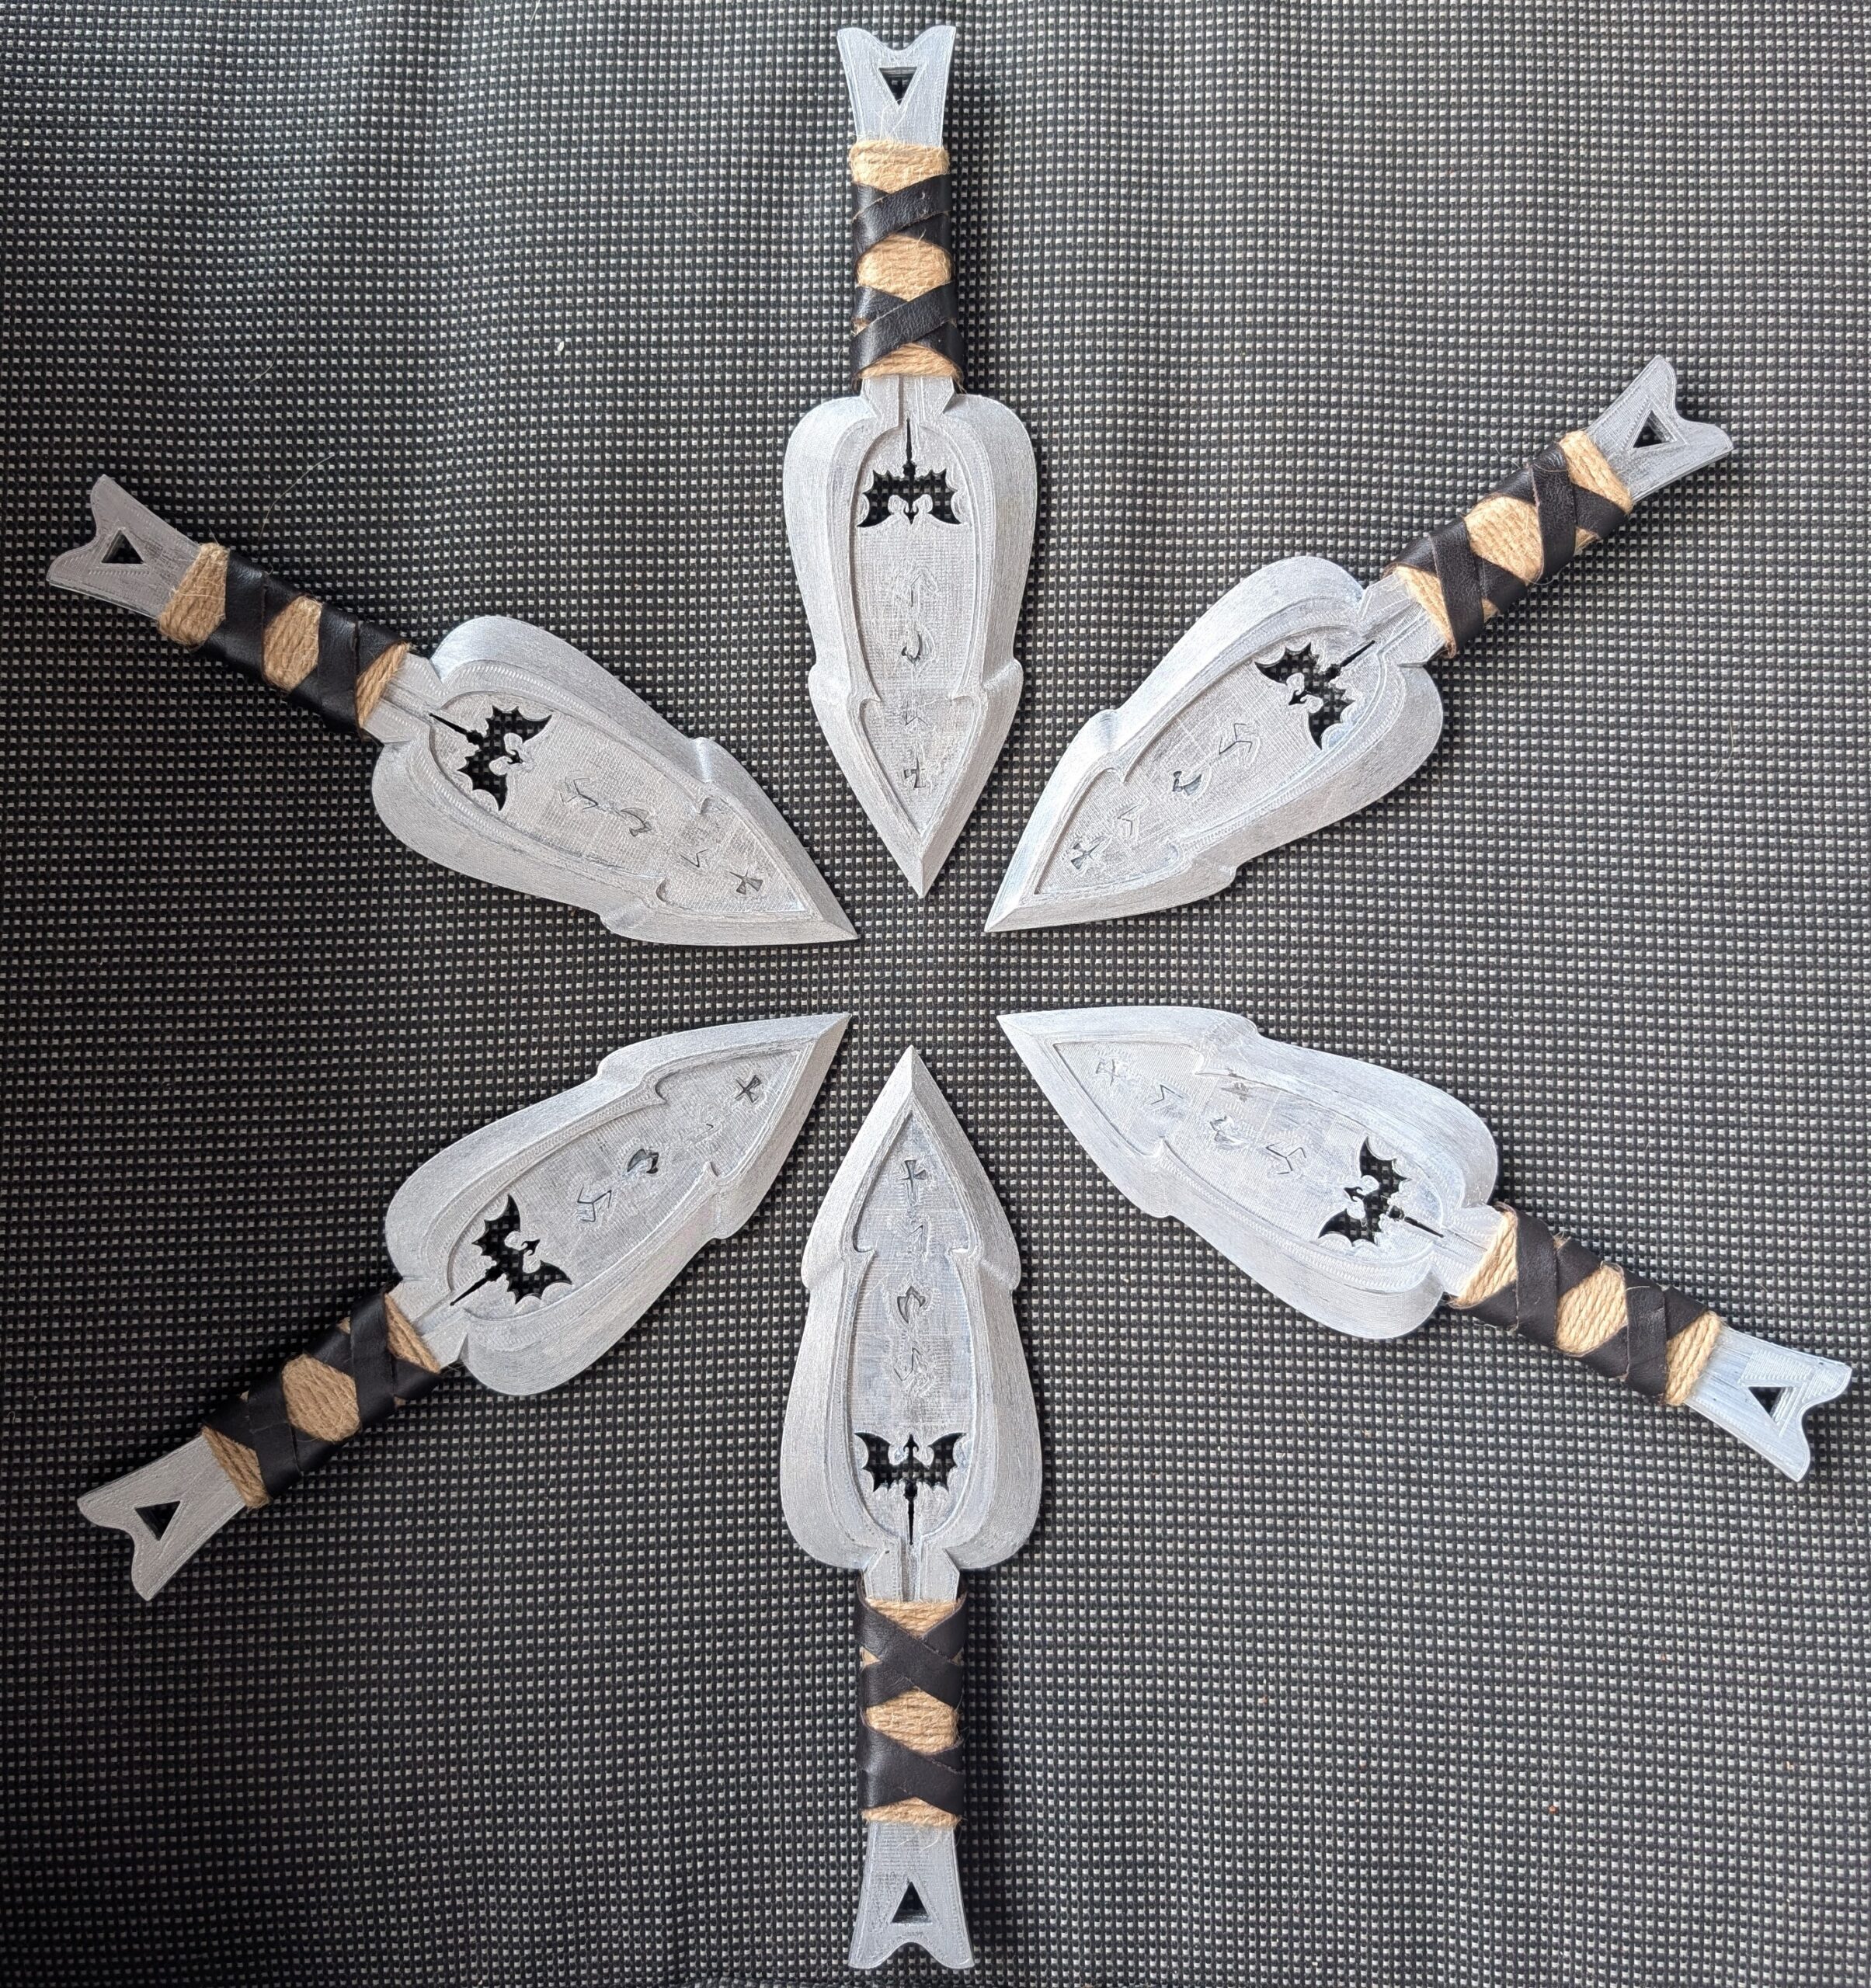
Ready to Slay: The Finished Result
I made 12 daggers in total, enough for 2 sets of 6. My cousin and my aunt both used a set each in their cosplay for the event.